


Welcome back! This documentation will guide you on how to use the Academy LMS PDF Shortcode. With PDF shortcode, you can display the PDF file in detail by setting the link, height, and width.
Here is the Academy LMS PDF shortcode:
[academy_pdf src="" width="" height=""]Using PDF Shortcode Course Builder
Basically, you can use the PDF shortcode on any page of your eLearning site. However, we represent the most logical use of the PDF shortcode while using the Academy LMS Course. Displaying the pdf view on the course details page and Lesson section will be the proper representation of this shortcode.
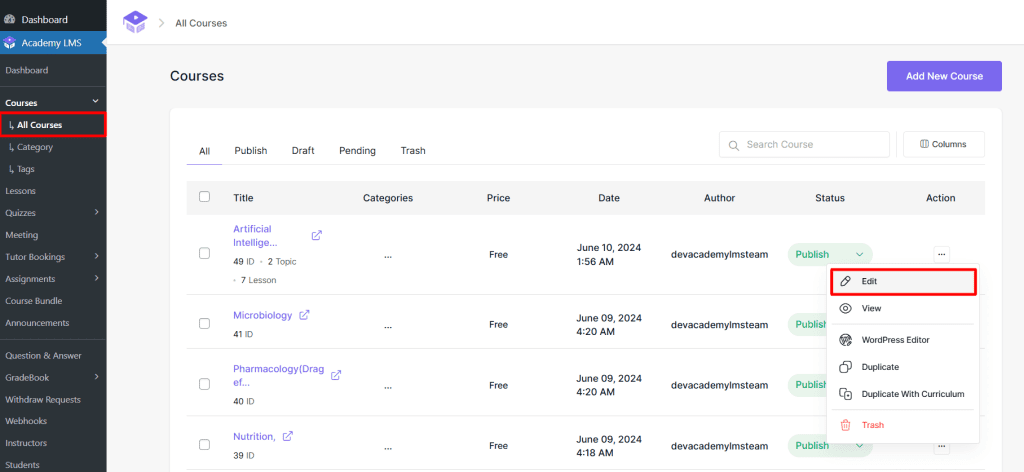
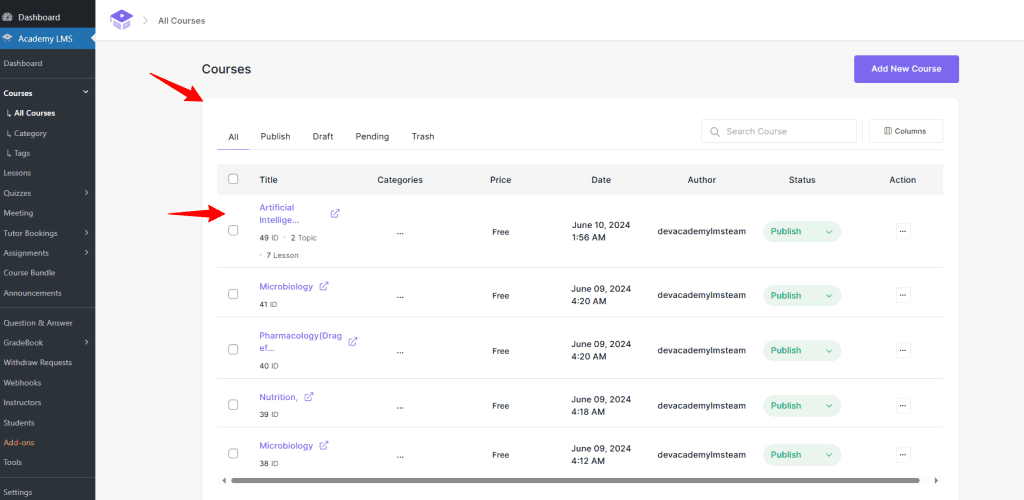
After logging into your eLearning website, go to Academy LMS > All Courses. Click the breadcrumb option beside the course and select edit.
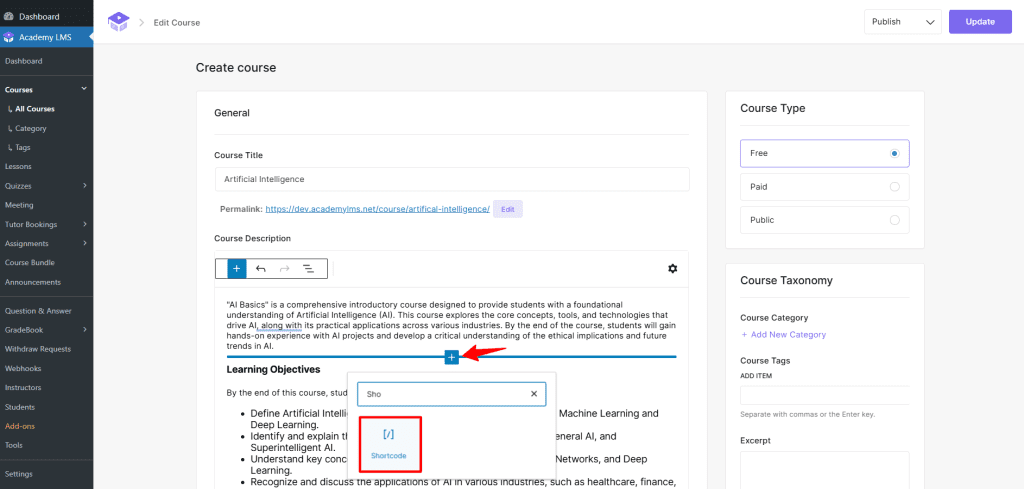
Now, you can edit the course and add the PDF shortcode using the block editor. Hover your mouse into the description area and wait for the plus sign to appear. Click the plus icon, search Shortcode, and click the shortcode block.
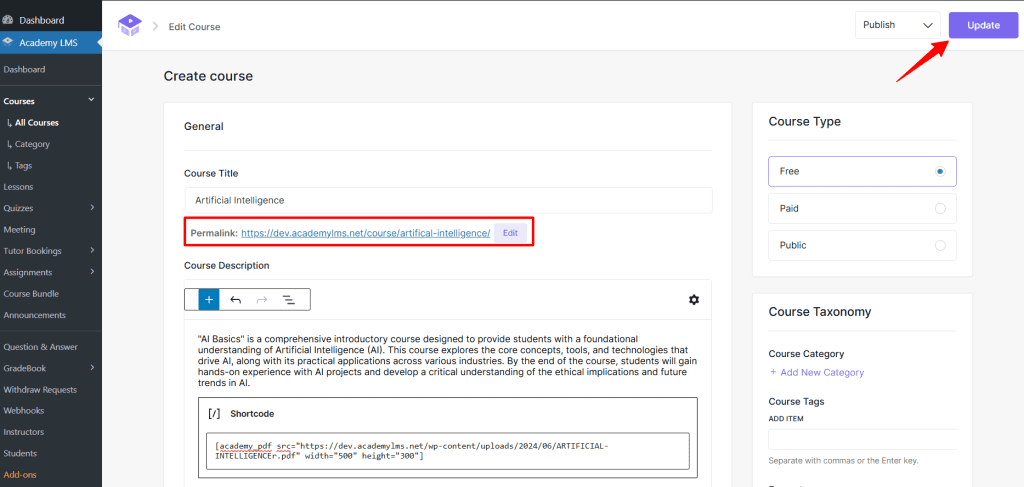
Now paste the PDF shortcode and put the file URL in the src of the shortcode. You can find your PDF file URL from the WordPress dashboard’s media option. Here is the shortcode after placing all the required info in it:
[academy_pdf src="https://dev.academylms.net/wp-content/uploads/2024/06/ARTIFICIAL-INTELLIGENCEr.pdf" width="500" height="300"]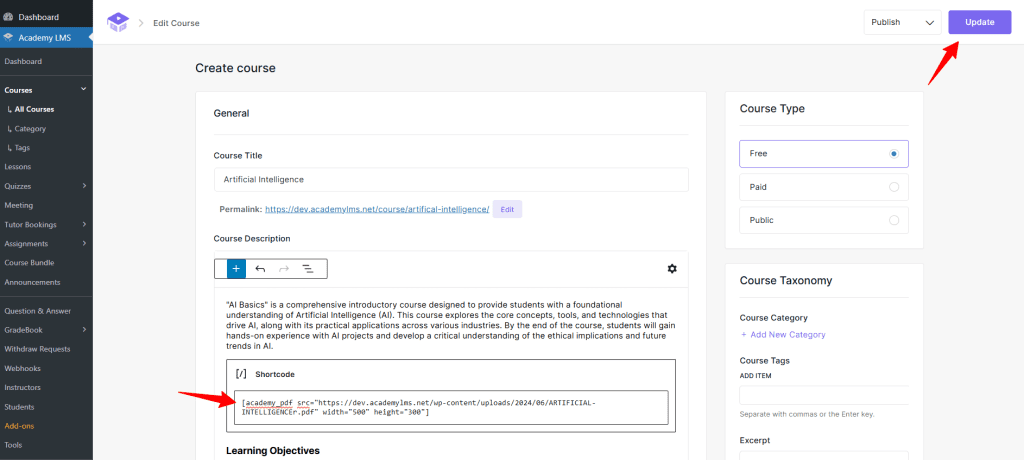
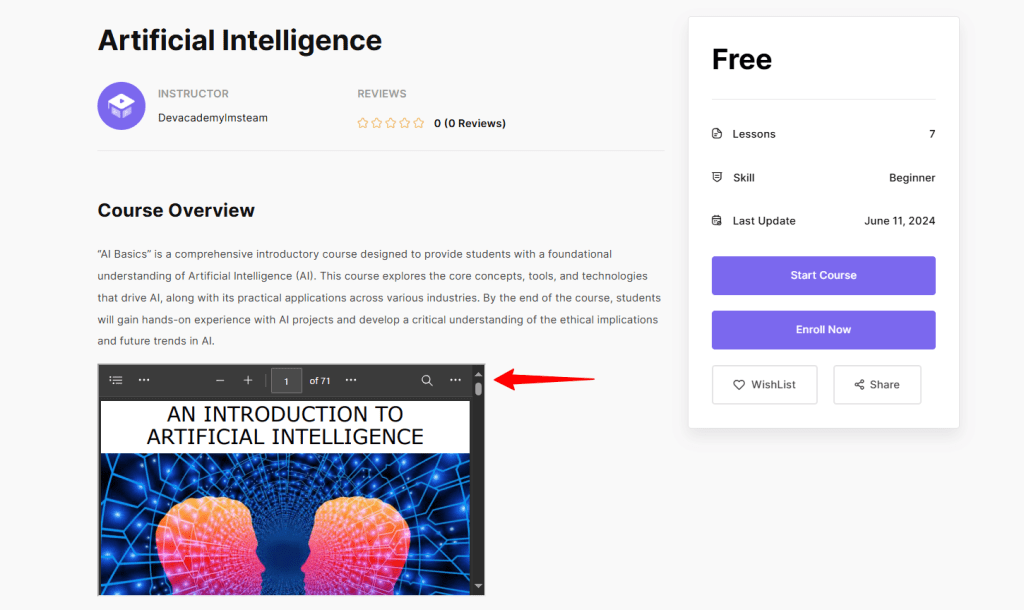
After placing the shortcode, simply click the Update button. Next, click the permalink to view the course details page. You will be taken to the course details page by clicking the permalink. On this page, you can view the PDF file right after the course details since we have placed it there.
We’ve successfully placed the PDF file in the course overview section. Now, let’s see how to add the PDF shortcode to a course lesson.
Using PDF Shortcode in Lesson
Go to Academy LMS > All Courses and click one of the previously created courses. We’ve selected the Artificial Intelligence course from the course list.
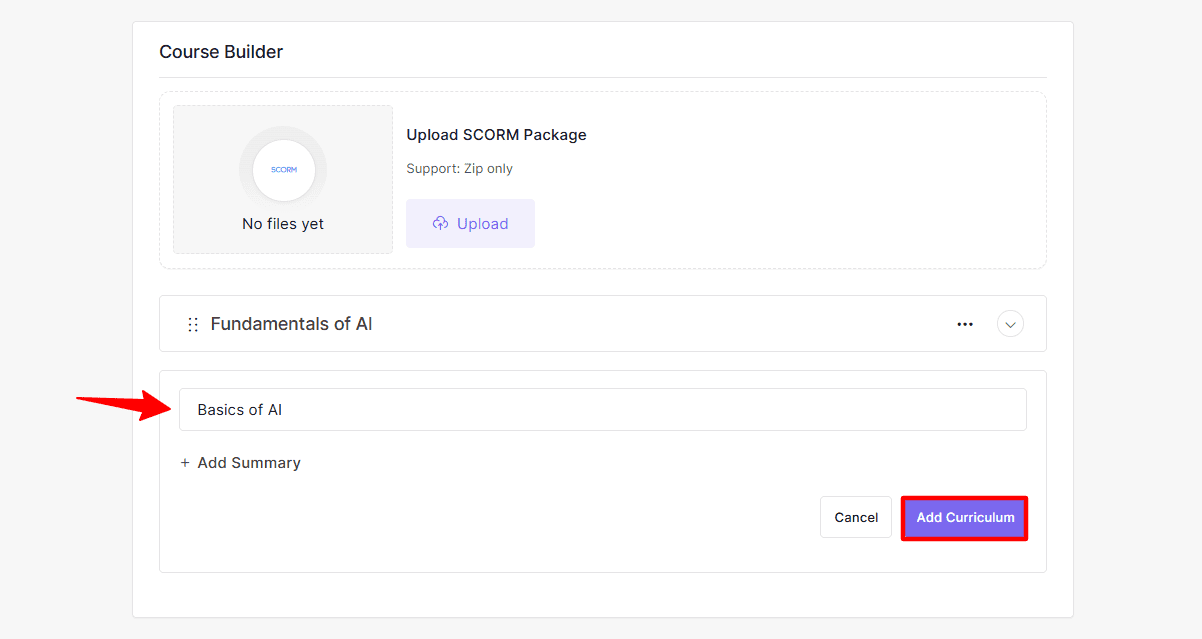
Now, scroll down and go to the Course Builder section. Then click Add New Curriculum and provide all necessary information.
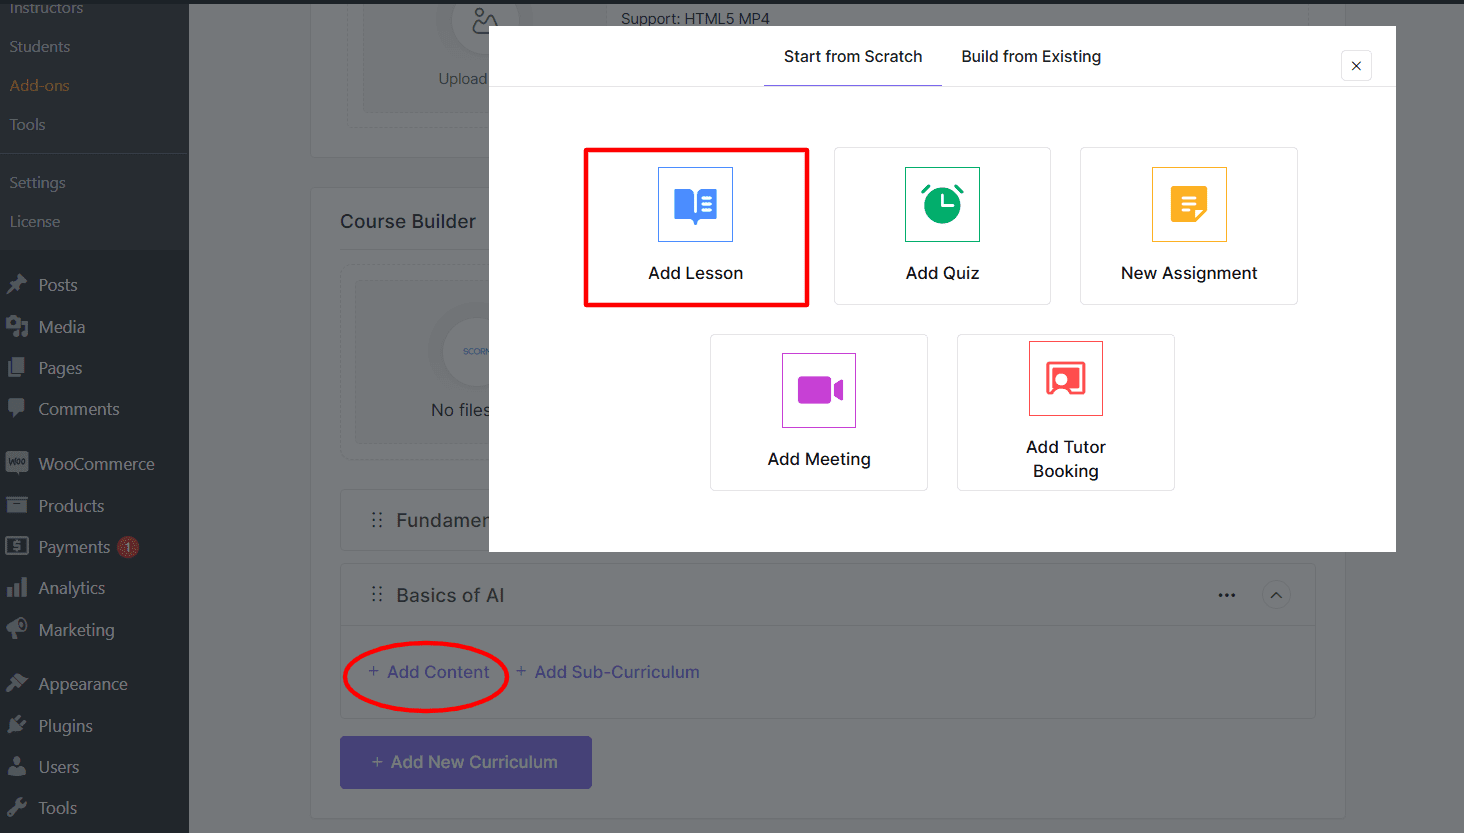
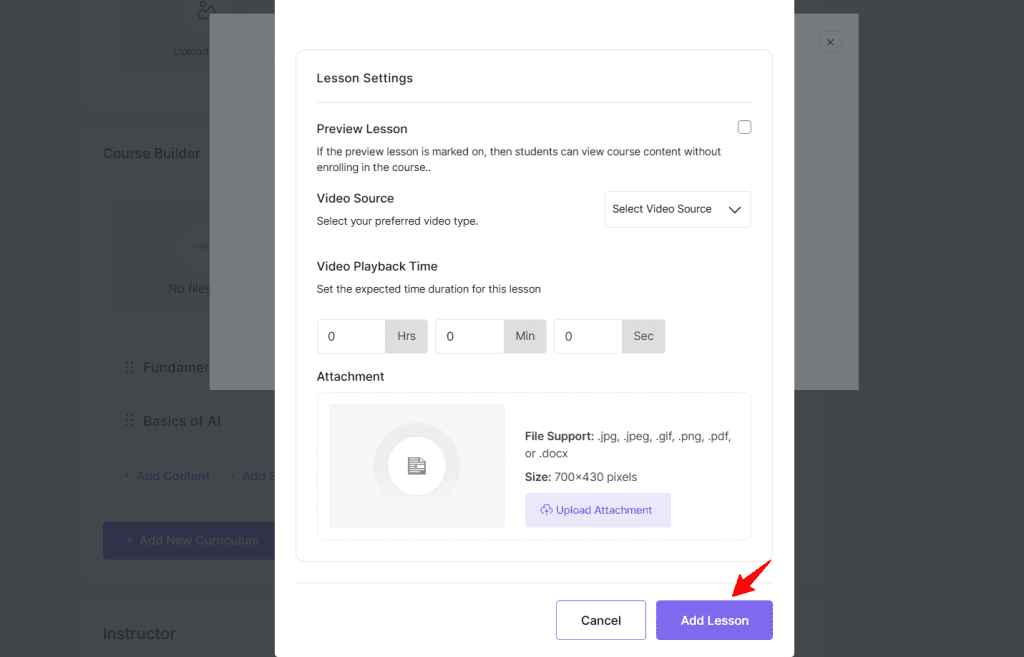
Now, click the + Add Content button to add more content to your curriculum. Then click Add Lesson to add information in your lesson.
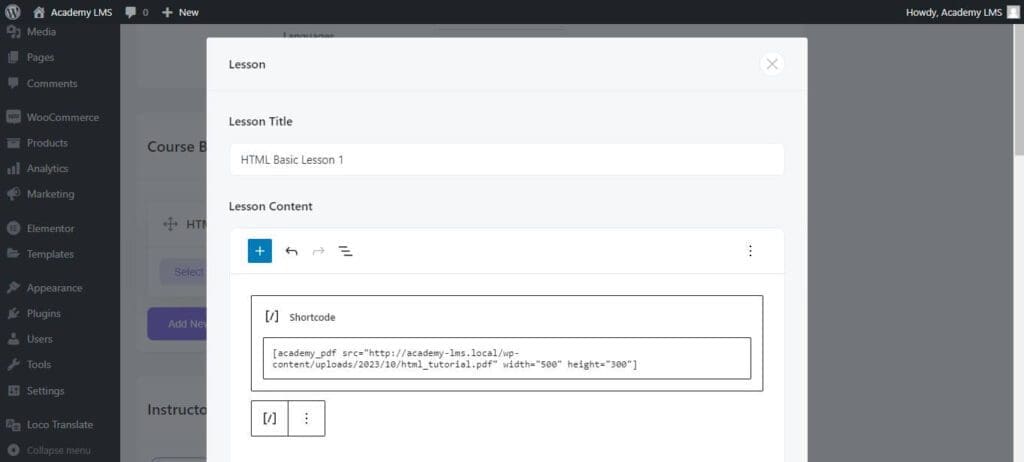
Provide a title and description for the lesson and add the pdf shortcode in the description area. Insert all necessary information within the shortcode.
Then, scroll down and click Add Lesson after adding all the necessary information.
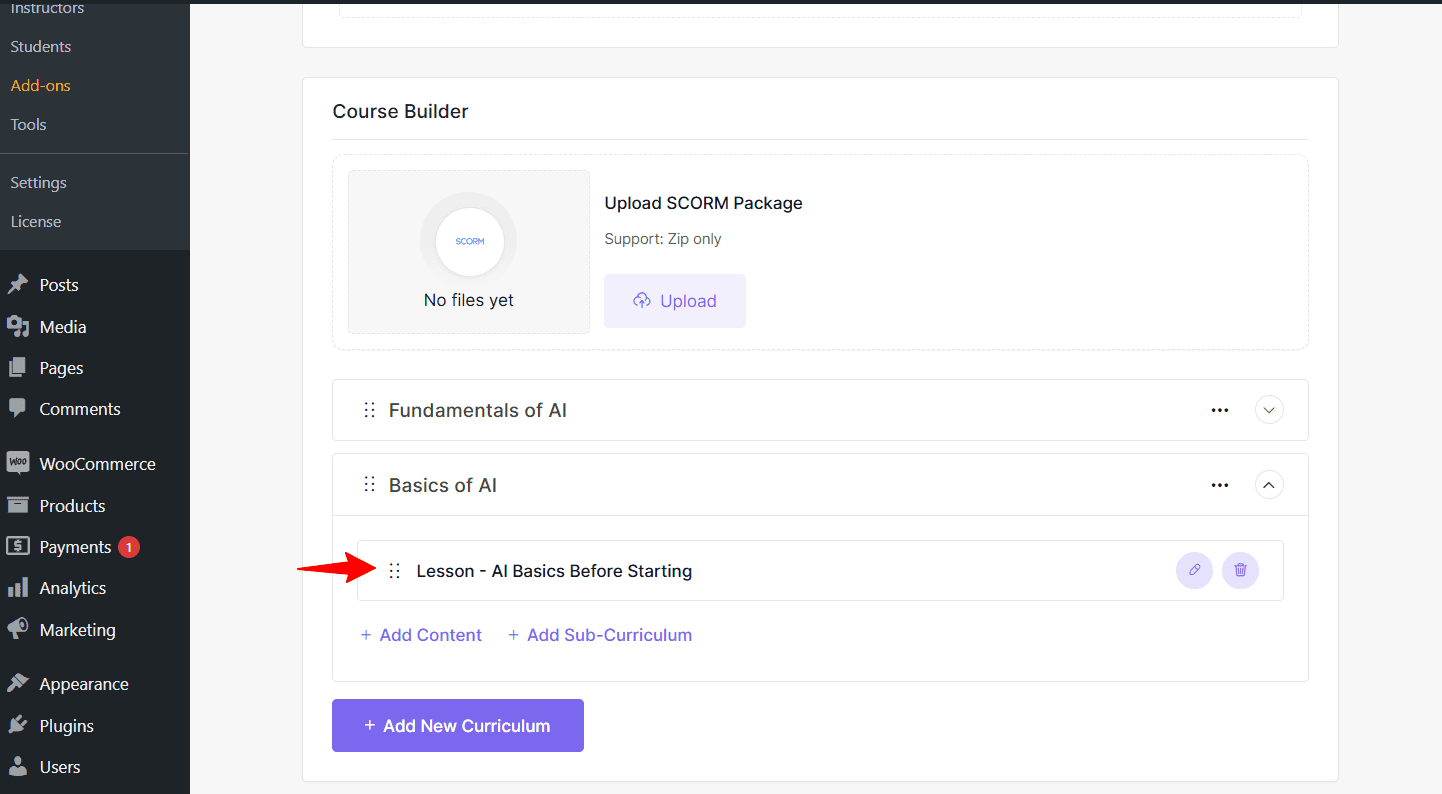
You can now see your lesson in the Course builder section within the curriculum.
Now, scroll up and click the Update button to save all changes. Then click the permalink to view the course page and review the lesson section.
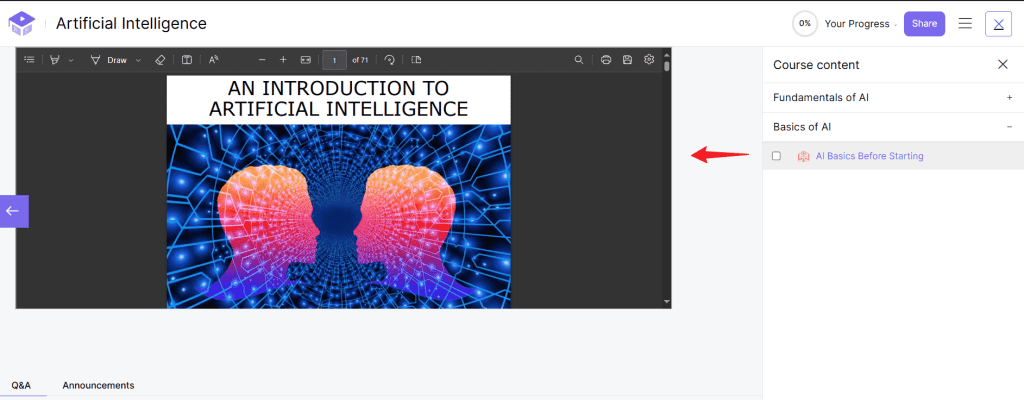
You will be taken directly to the course page. Now scroll down a bit to view the course that you just created. Click Start Course to view the course content in detail.
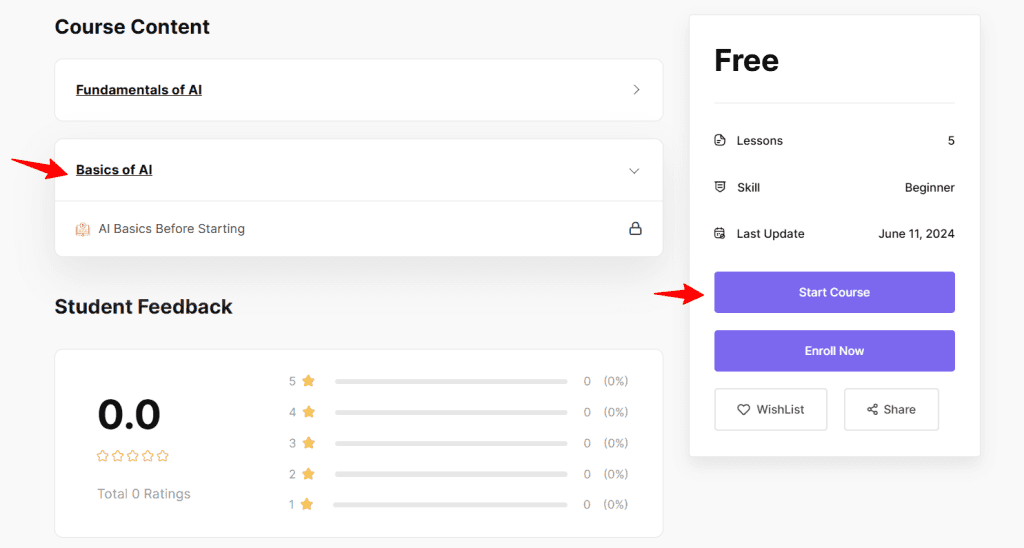
You can now view the lesson and its content. The PDF file we entered using the PDF shortcode is visible in this section.
This is how the Academy PDF shortcode works on the course and lesson of your eLearning site. If you are still confused or have queries about the PDF Shortcode, please contact us. Also, join our Facebook community or Twitter to get more updates on Academy LMS.