









Webhooks connect Academy LMS to other apps, such as Zapier or Make.
An outgoing webhook sends data to another app when something happens on your site, for example when a student enrolls.
An incoming webhook lets another app make something happen on your site. Incoming webhooks need Academy LMS Pro.
Turn on the add-on
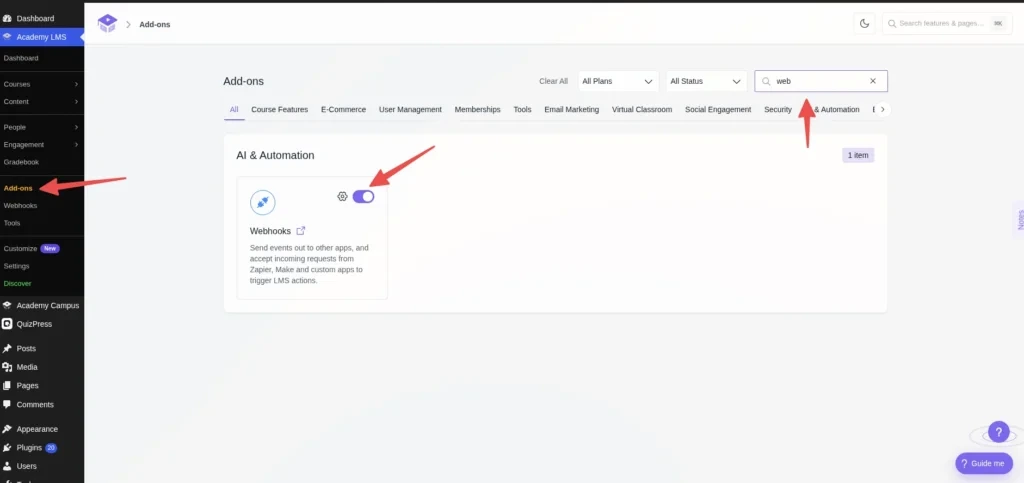
Go to Academy LMS → Add-ons and turn on Webhooks. A Webhooks item appears in the Academy LMS menu.
Send data out (outgoing)
1.Go to Academy LMS → Webhooks and click Add New Webhook.
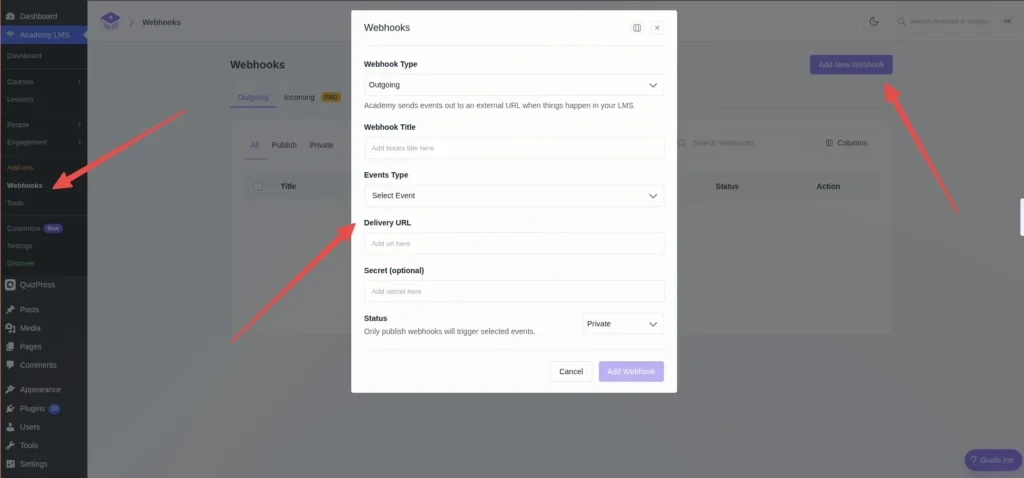
1.Set Webhook Type to Outgoing.
2.Under Events Type, choose the events that fire this webhook.
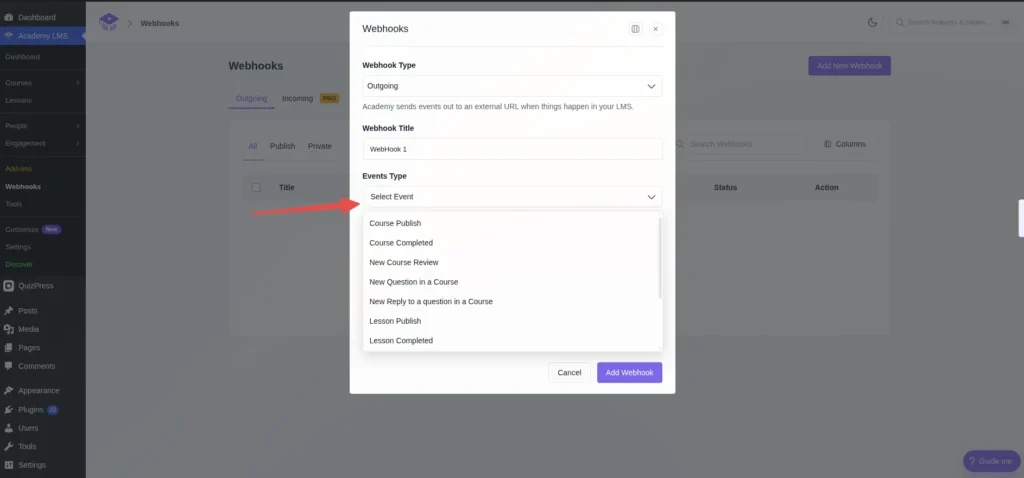
1.Paste the Delivery URL. This is the address the other app gives you.
2.Optional: enter a Secret, so the other app can check the data really came from your site.
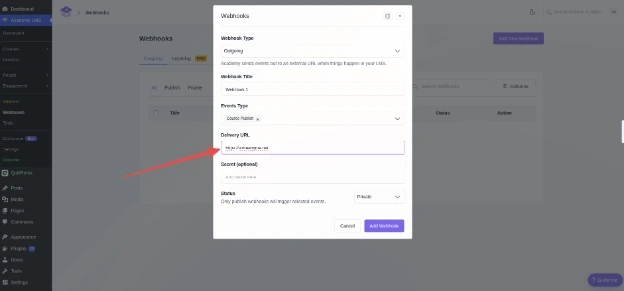
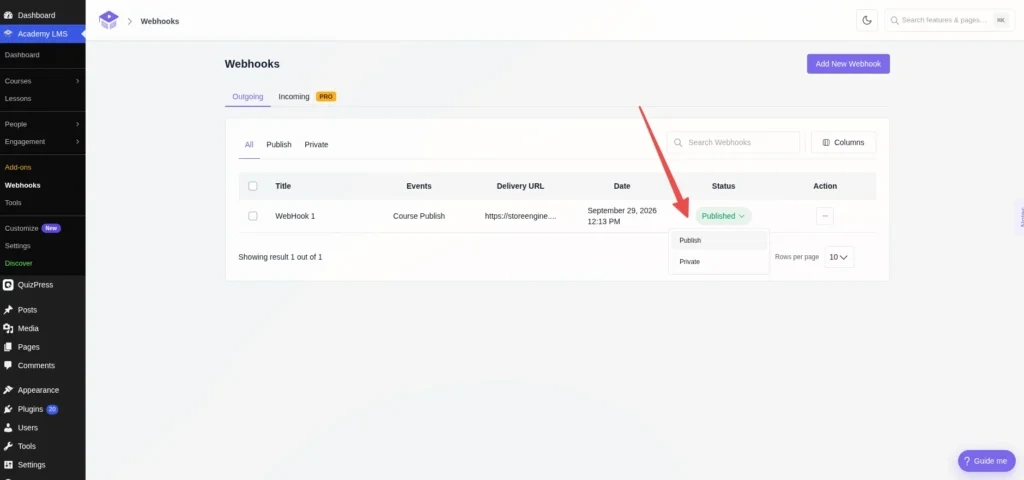
1.Set Status to Publish. A Private webhook never fires.
2.Click Add Webhook.
Events
|
Area |
Events |
|
Course |
Course Publish, Course Completed, New Enroll, New Course Review, Announcement Publish |
|
Lesson |
Lesson Publish, Lesson Completed |
|
Quiz |
Quiz Publish, Quiz Completed, Quiz Attempt Pending, Quiz Attempt Failed, Quiz Attempt Passed |
|
Users |
New Student Registration, New Instructor Registration |
|
Q&A |
New Question, New Reply |
More events appear when these add-ons are on: Assignments, Zoom, Tutor Booking and Course Bundle.
Receive data (incoming)
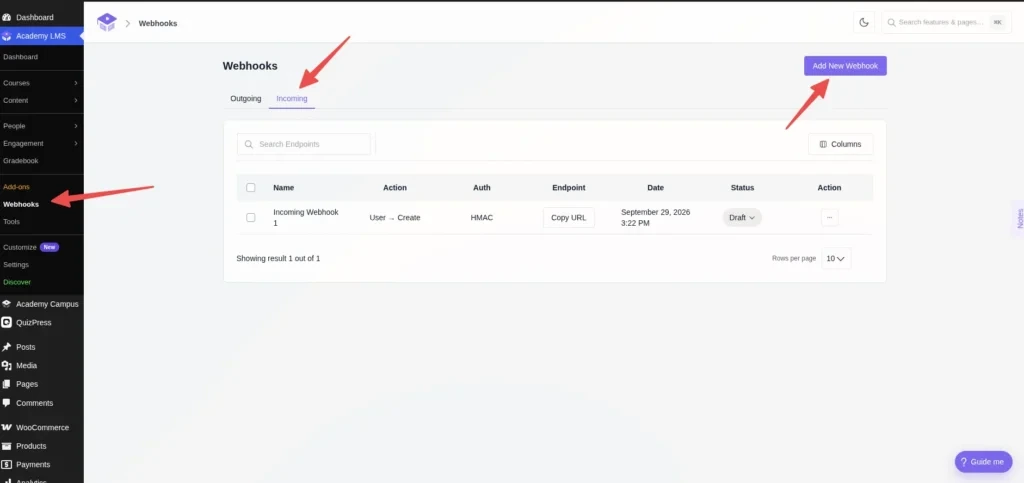
1.Click Add New Webhook and open the Incoming tab.
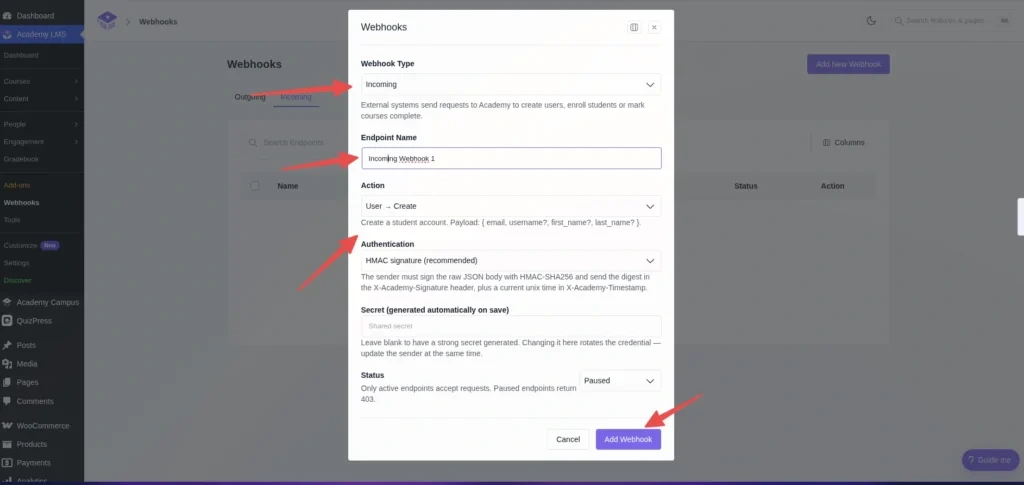
1.Enter an Endpoint Name.
2.Choose the Action: what should happen on your site when the other app calls this webhook.
3.Set the Authentication.
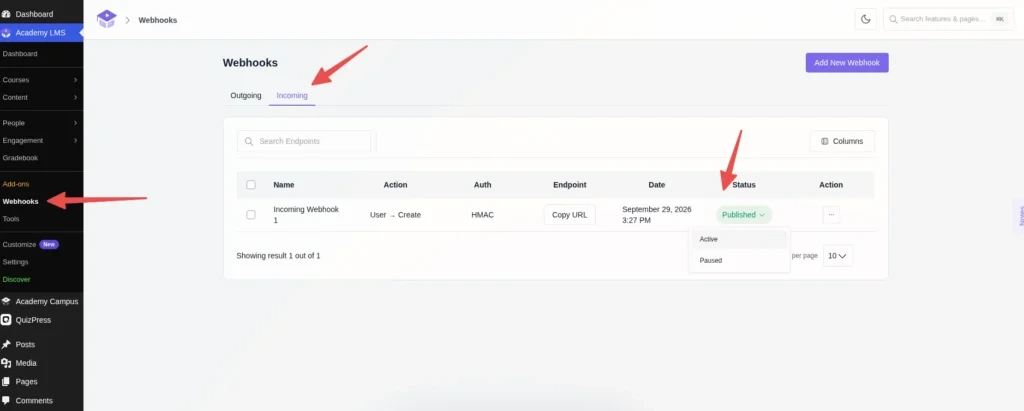
1.Set Status to Publish and save.
1.Give the endpoint and its authentication details to the other app.
If a webhook doesn’t fire
Check its Status is Publish, not Private.
Check the event you expect is ticked.
Check the Delivery URL is the exact one the other app gave you.