


Follow these steps to activate the Academy LMS license:
Step 1: Login Information
Upon purchasing the Academy LMS Pro version, you will receive an email from the Kodezen store containing your login information for the Academy LMS account.
The video below demonstrates how to activate all Kodezen product licenses.
Step 2: Logging in and Downloading
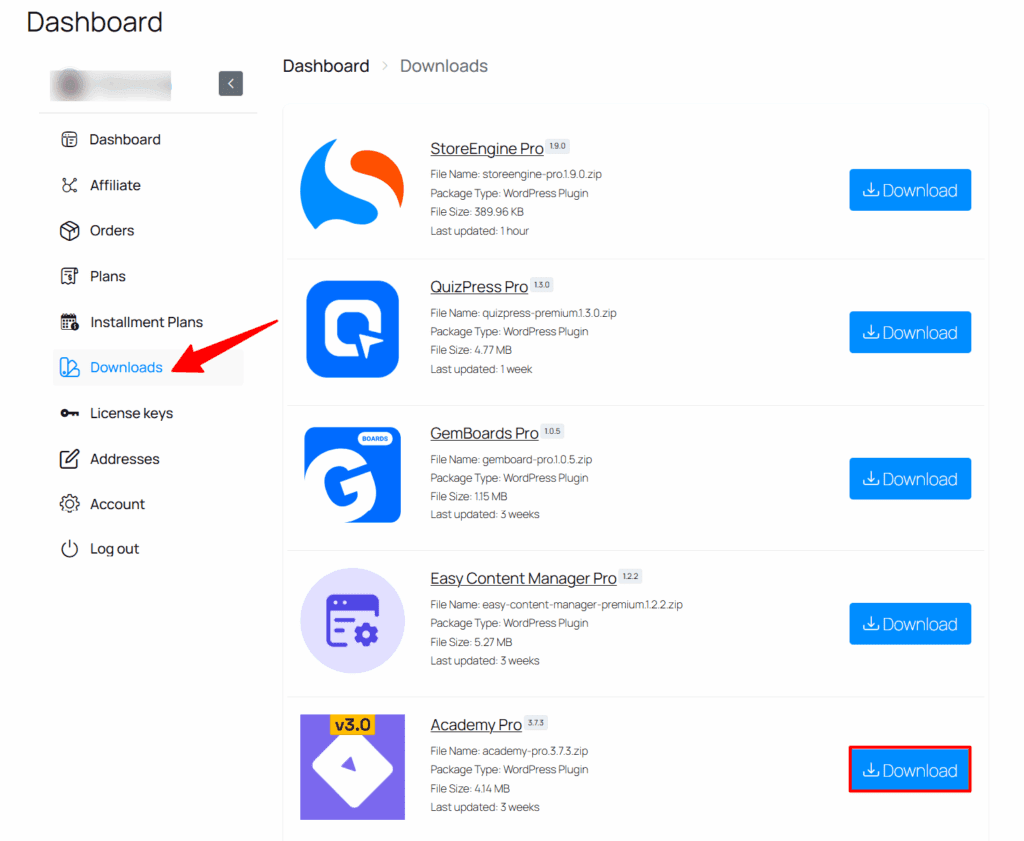
1. Log in to your Academy LMS account using the provided login credentials.

2. After logging in, access the dashboard, where you will find a download option.
3. Click on the download option to download the Academy LMS Pro version.
Step 3: Installation
1. Once the plugin is downloaded, follow these steps to install Academy LMS Pro successfully:
a. Go to your WordPress site dashboard.
b. Navigate to Plugins > Add New.
c. Click the “Upload Plugin” button located above and next to the “Add Plugins” button.
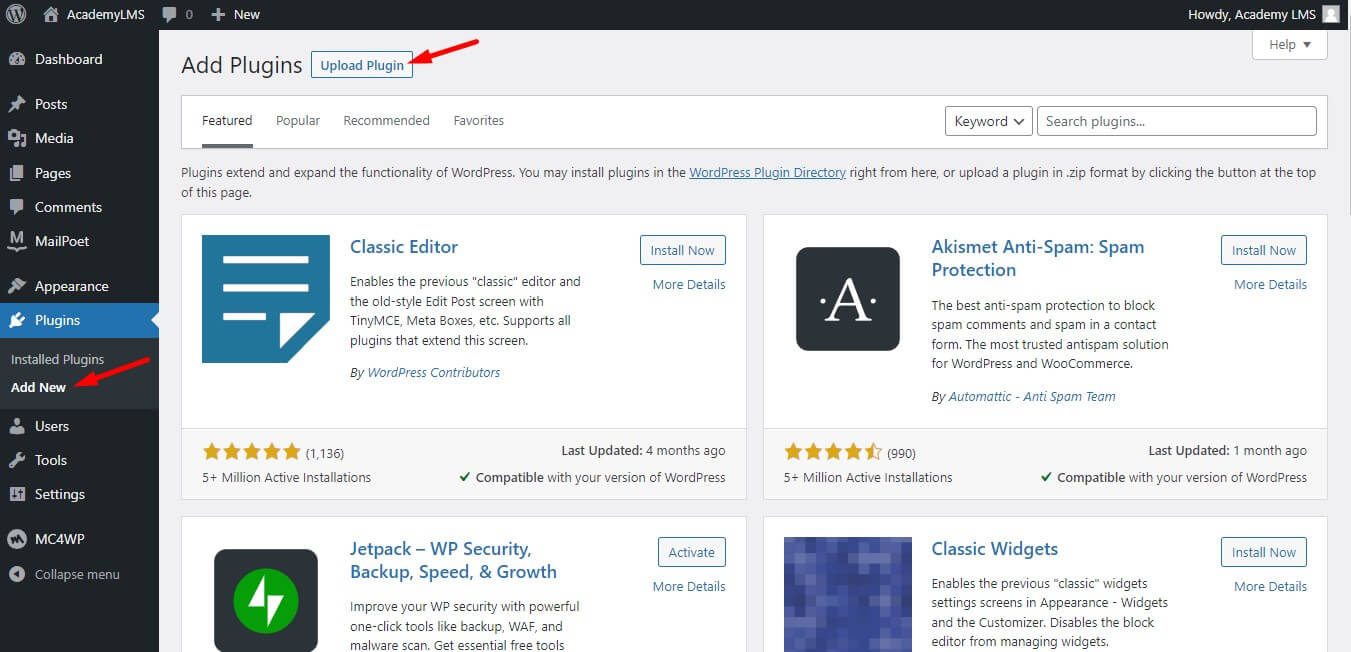
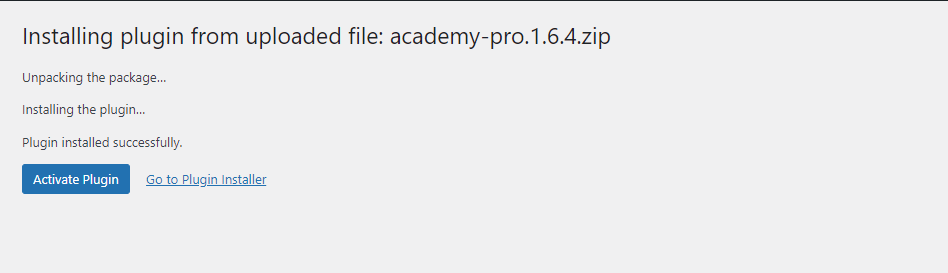
d. An upload form will appear. Click “Choose File” to select the Zip file from your computer, or simply drag and drop the Academy LMS Pro zip file, and then select “Install Now.”

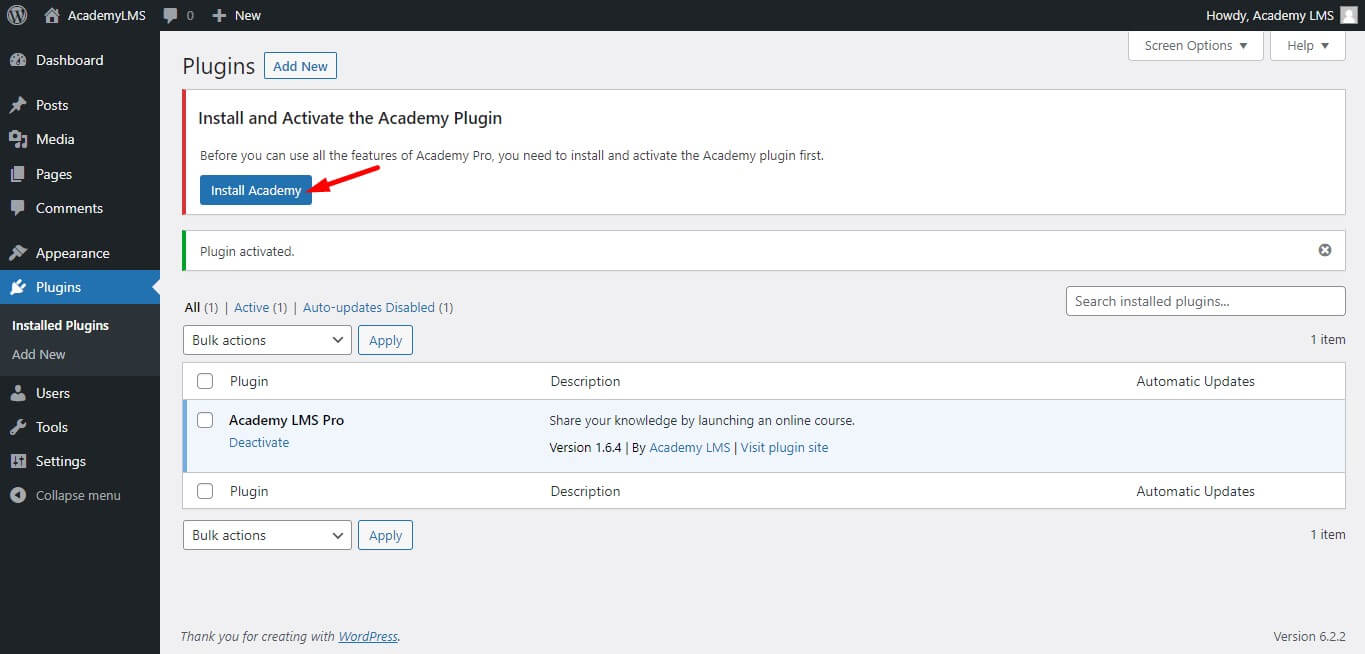
e. After successful installation, activate the plugin.
Step 4: Academy LMS Free Version
Note that it is necessary to have the Academy LMS free version installed to use the Academy LMS Pro version.
Step 5: Academy LMS License Activation
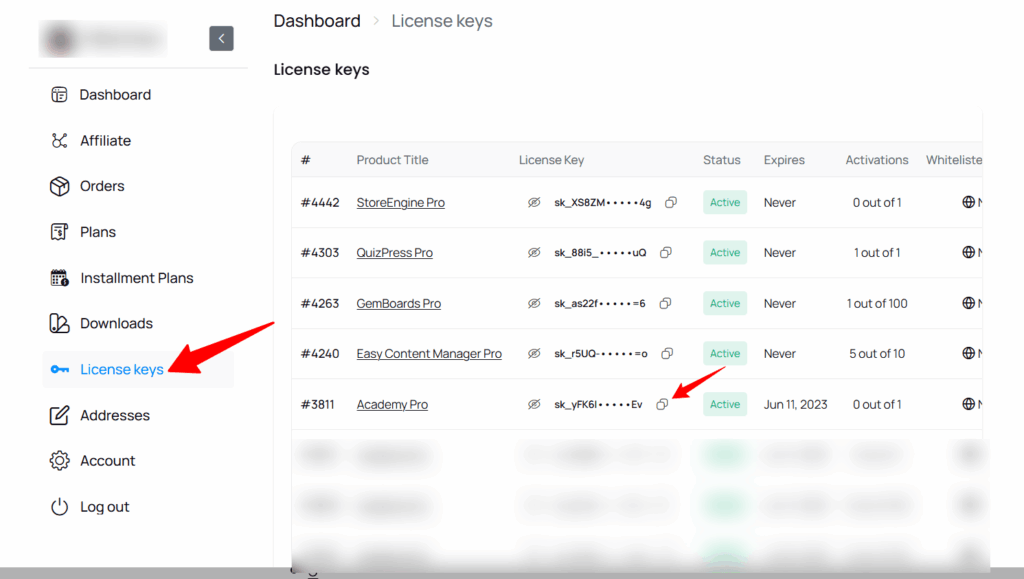
1. Return to your Academy LMS account and access the License section from the dashboard.
2. In the License section, you will find your Academy LMS Pro License key. Copy the license key.
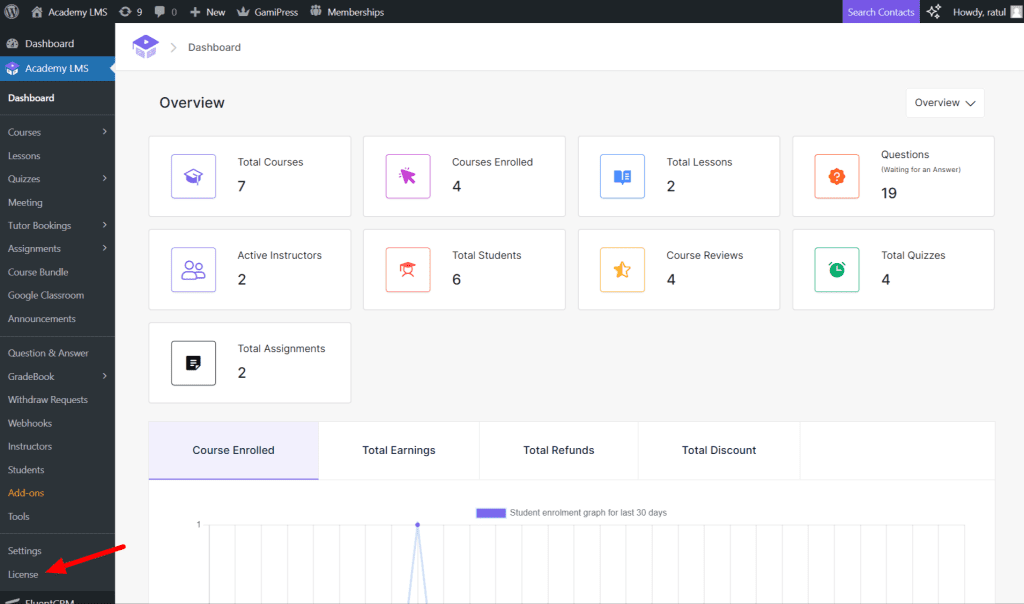
3. To activate the license, head over to Academy LMS from your WordPress dashboard.
4. Click on License from the Academy LMS menu option.
5. Paste the copied license key and click “Activate License” to activate the Academy LMS Pro license.
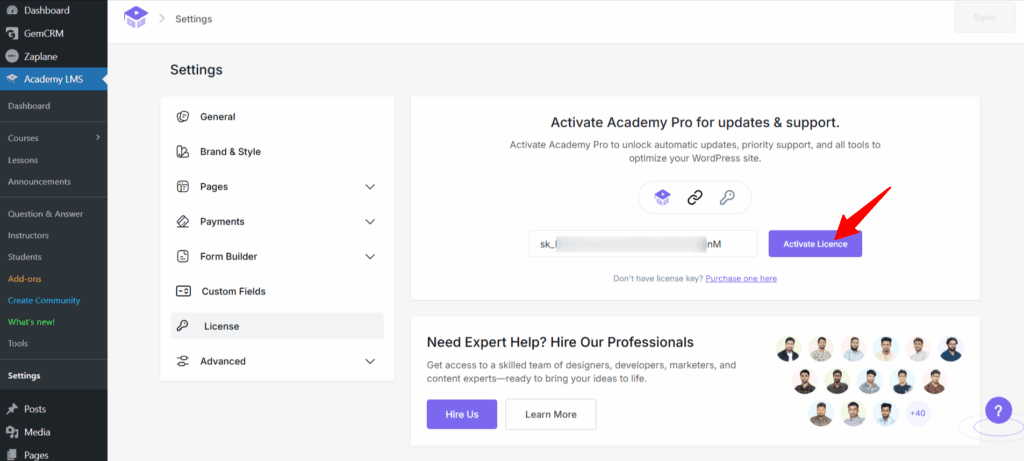
Your Academy LMS license has now been successfully activated.
How to Solve Product License Limitation Issues
If you receive the following error while activating your license key: “This license has reached the maximum number of allowed activations.”

You can resolve the issue yourself from your Kodezen account. First, log in to your store.kodezen.com/dashboard account and navigate to the “License Keys” section, where you will find all of your purchased product licenses. Scroll the license table from left to right to view all available options. Click the three-dot menu next to the license key you want to manage. After clicking the three-dot manu, the two option apper there.

First, click on the “Sync Activation Count”. This will synchronize all current license activations and update the activation count. Next, click “View Active Instances”. You will be redirected to a page displaying all active license activations. From there, identify any old or unused activations and click the Delete button to remove them.

Once you have removed an unused activation, you should be able to activate the license on your new site without any issues.
For video tutorials, subscribe to our YouTube channel. Join our Facebook community to ask questions. Stay updated with our latest news by following us on Twitter.