

A private course in Academy LMS is perfect when you want only specific students to access the content. Let’s walk through the process.
Create a Course
To get started, create a course like you normally would. If you’re new to this, follow this guide to understand how to set up a course.
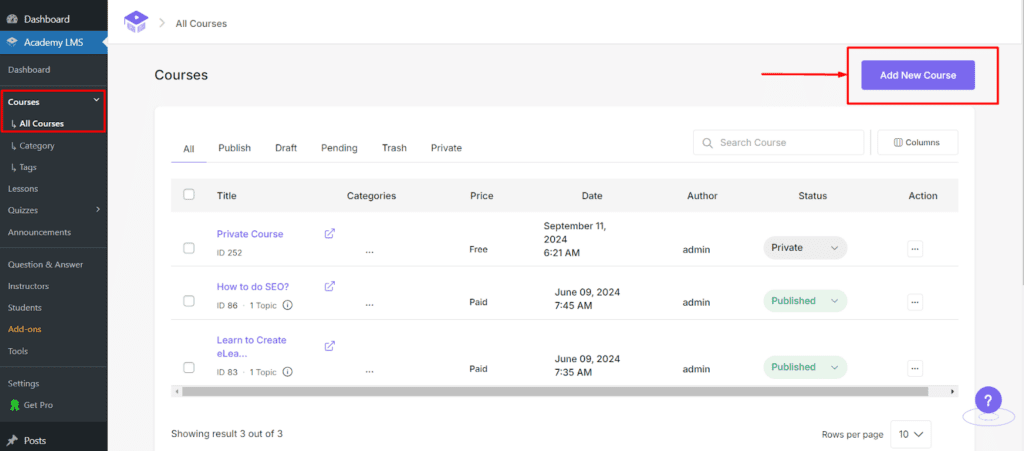
Set Course Visibility to Private
Once you’ve filled in your course details (title, description, etc.), you’ll come to the Course Visibility dropdown. Normally, you might choose “Publish” to make the course live or “Draft” to save it for later.
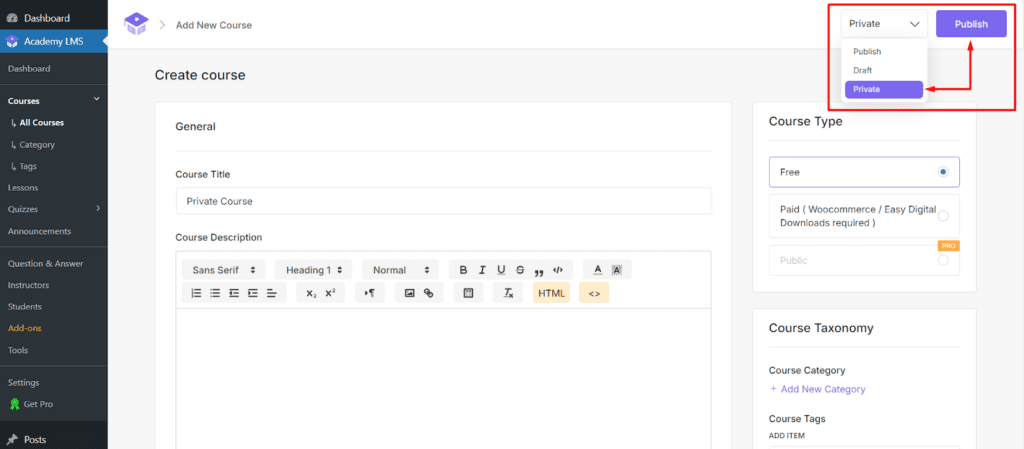
For a private course, select Private. This ensures that the course remains hidden from all users, registered or not
Manually Enroll Students
Unlike regular courses, private courses don’t show up for students on your site. To give a student access, you’ll need to manually enroll them in the course from your admin dashboard.
Note: Manual Enrollment is a PRO addon of Academy LMS. And here’s a detailed guide on how to use it.
However, is short you can:
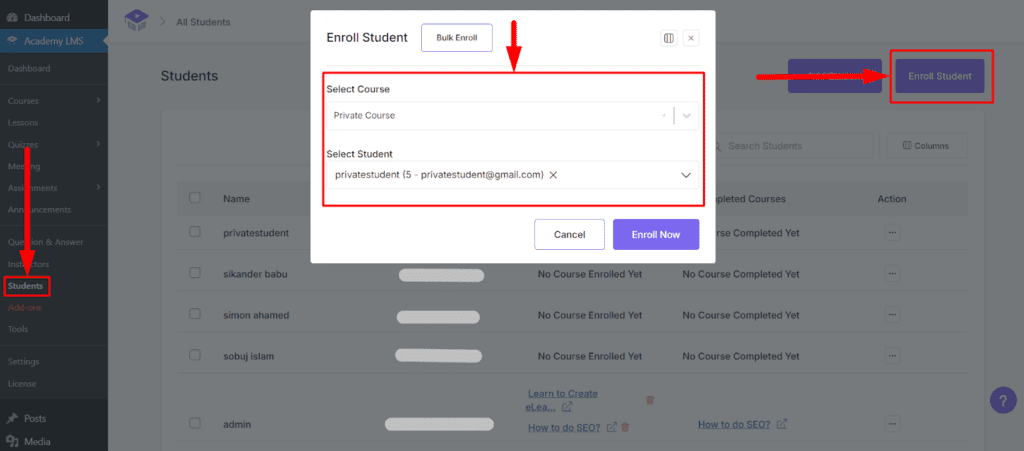
- Navigate to the Students section
- Select Enroll Student.
- Choose the course and student(s) you want to enroll.
And that’s it. This is how easily you can create a private course and add students in it.
Course Access
Only the students you enroll will have access to the private course. No one else will be able to see or access the course unless you enroll them manually.
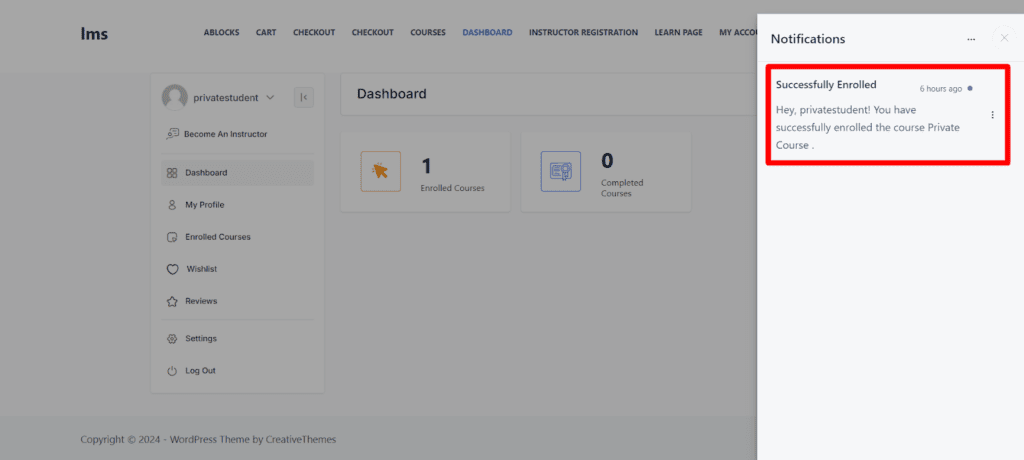
Students can access the private course from the student dashboard.

This makes it easy to manage exclusive content and provide a more controlled learning environment.
Student Notification
Once enrolled, the student will receive an email and a pop-up notification, just like they would for a regular course.
These notifications help them know they’ve been added to the private course. You can check out the detailed settings for notifications addon and email settings.