








Digital Campus adds a school information system to Academy LMS. Manage admissions, students, classes, subjects, campuses and guardians for a school, college or university. Subjects can link to Academy LMS courses, so lessons, quizzes and grades flow through.
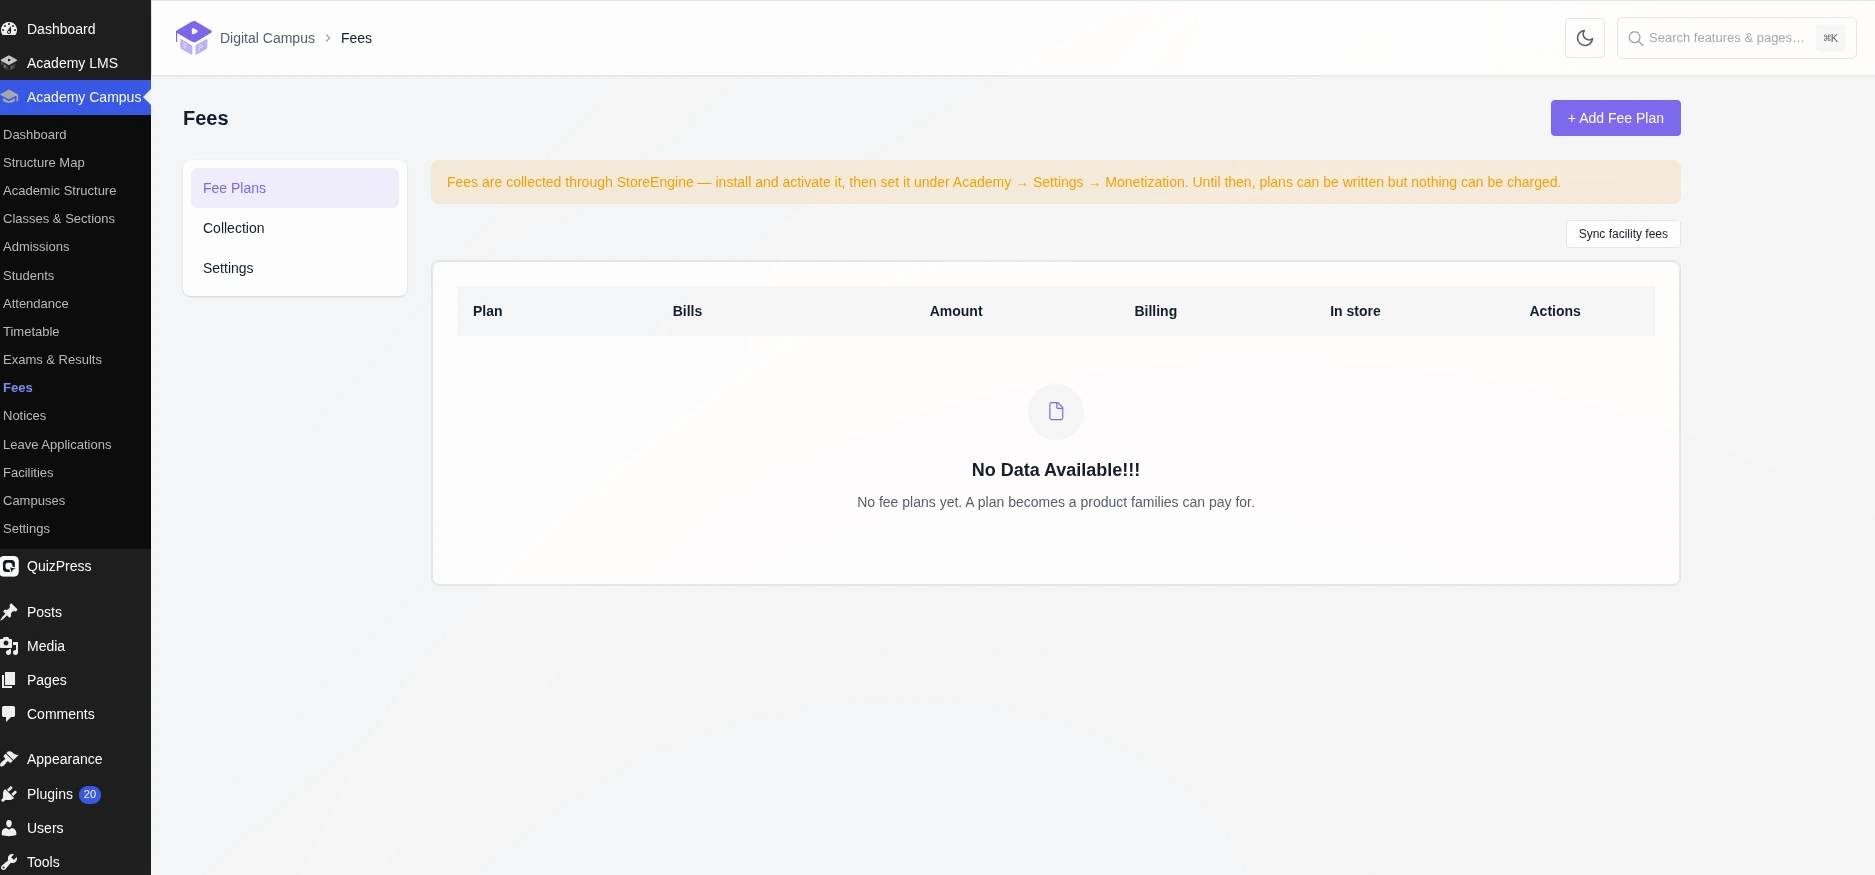
Free: Admissions, Students, Classes & Sections, Academic Structure, Campuses and Settings. Pro: Attendance, Timetable, Exams & Results, Fees, Notices, Facilities, Leave Applications, Online Admissions, ID Cards and Multi-campus.
1. Open Academy Campus
Turn on Digital Campus in Academy LMS → Add-ons. A new Academy Campus menu appears under Academy LMS.
2. Run the setup wizard
On the dashboard, click Launch setup wizard. Pick the closest match: Kindergarten, School, High School, University or Custom. The wizard fills in a starting structure you can change later.
3. Add your school’s details
In School info, enter the institution name, phone, email, website, logo URL, address and social links. You can change these later in Settings.
4. Review classes, sections and subjects
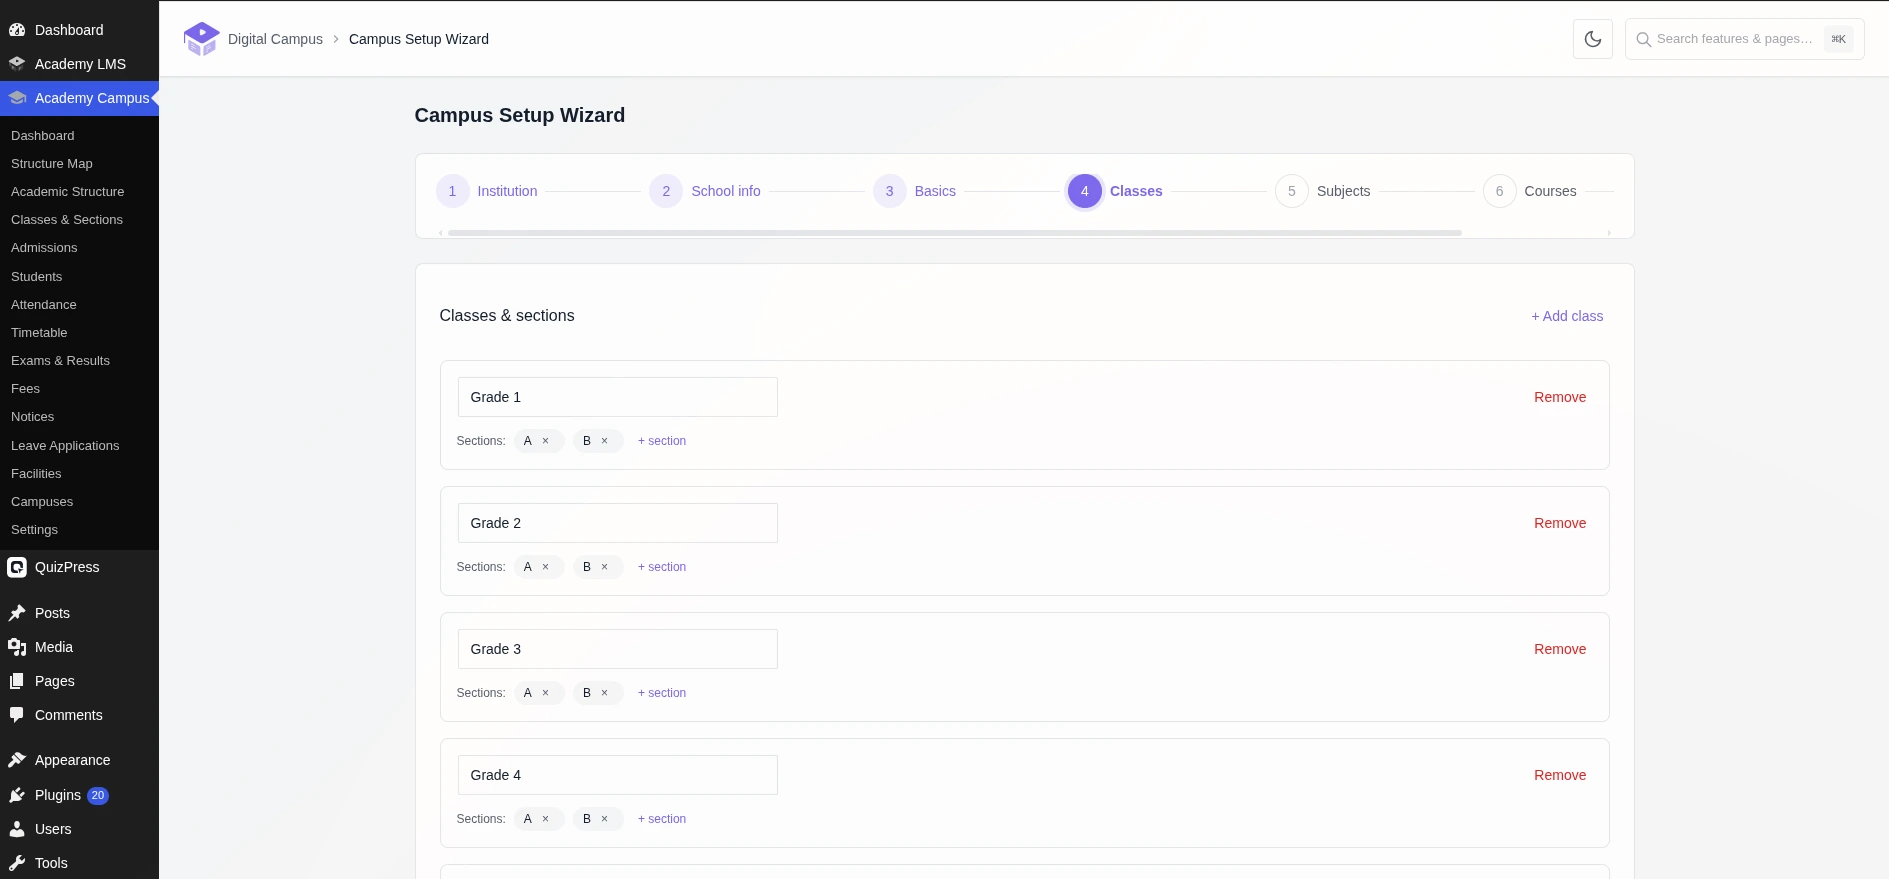
The wizard fills in classes, sections and subjects for your type. For example, School creates Grade 1 to Grade 8, each with sections A and B, and six subjects. Rename, add or remove anything.
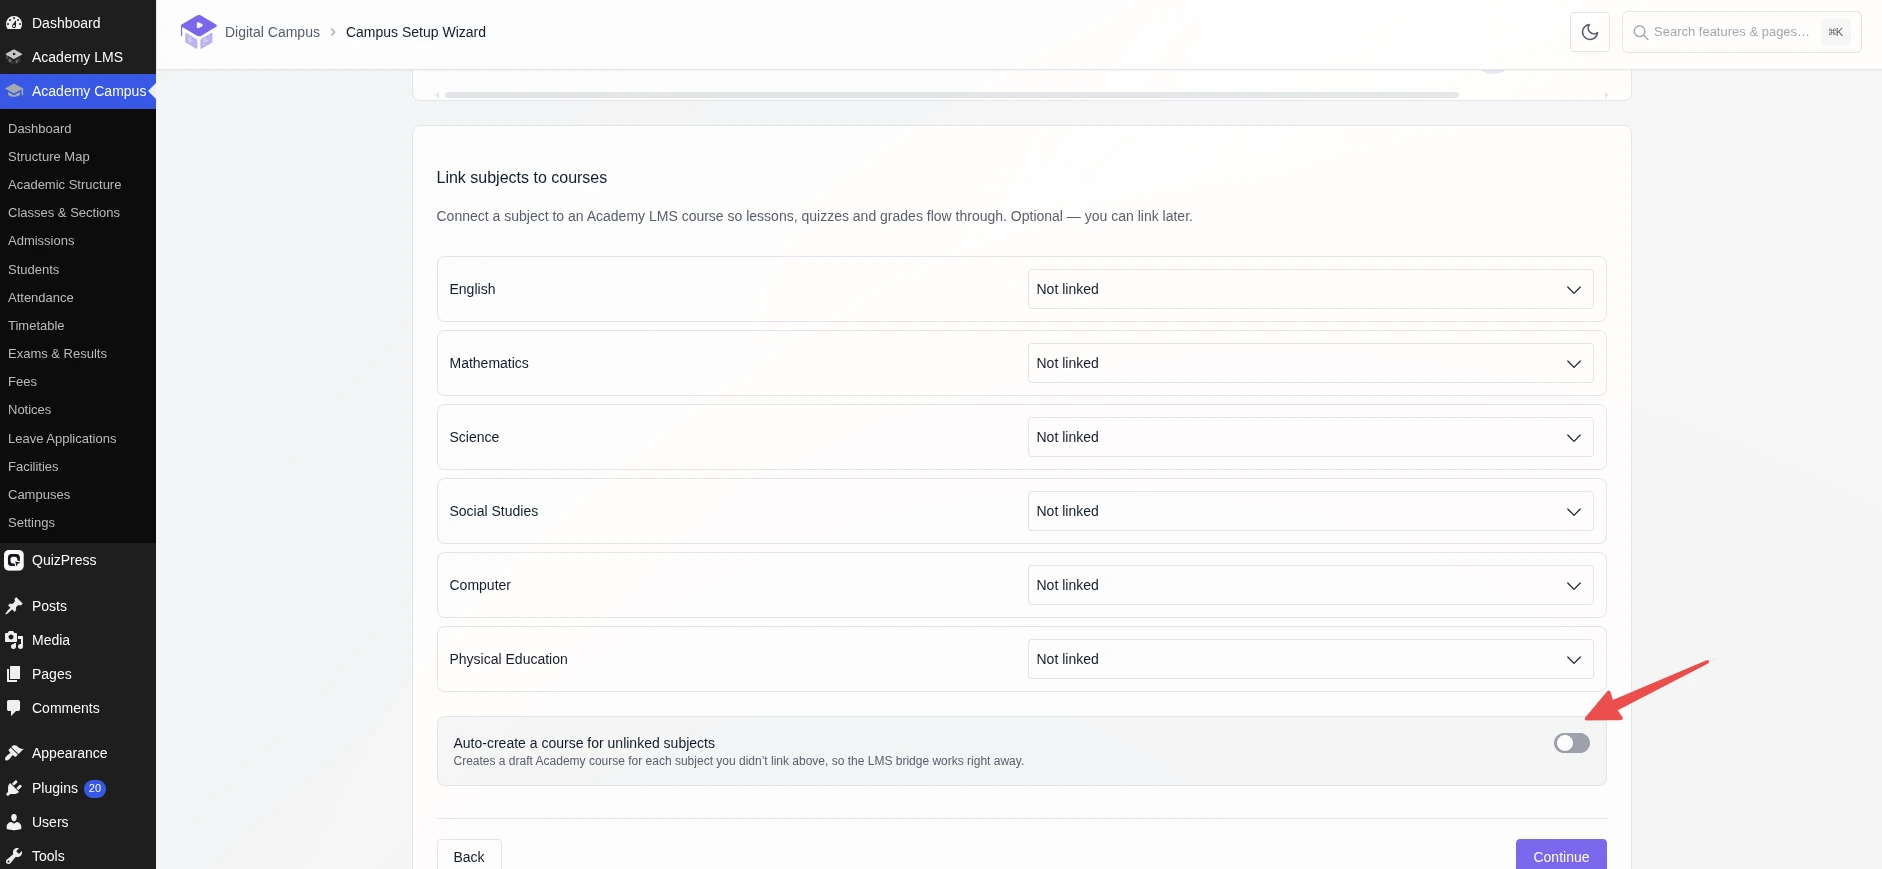
Next, Link subjects to courses connects each subject to an Academy LMS course. This is optional. Turn on Auto-create a course for unlinked subjects to create a draft course for every subject you didn’t link.
5. Create the campus
Ready to create sums up what will be built. Click Create my campus.
6. Check the Structure Map
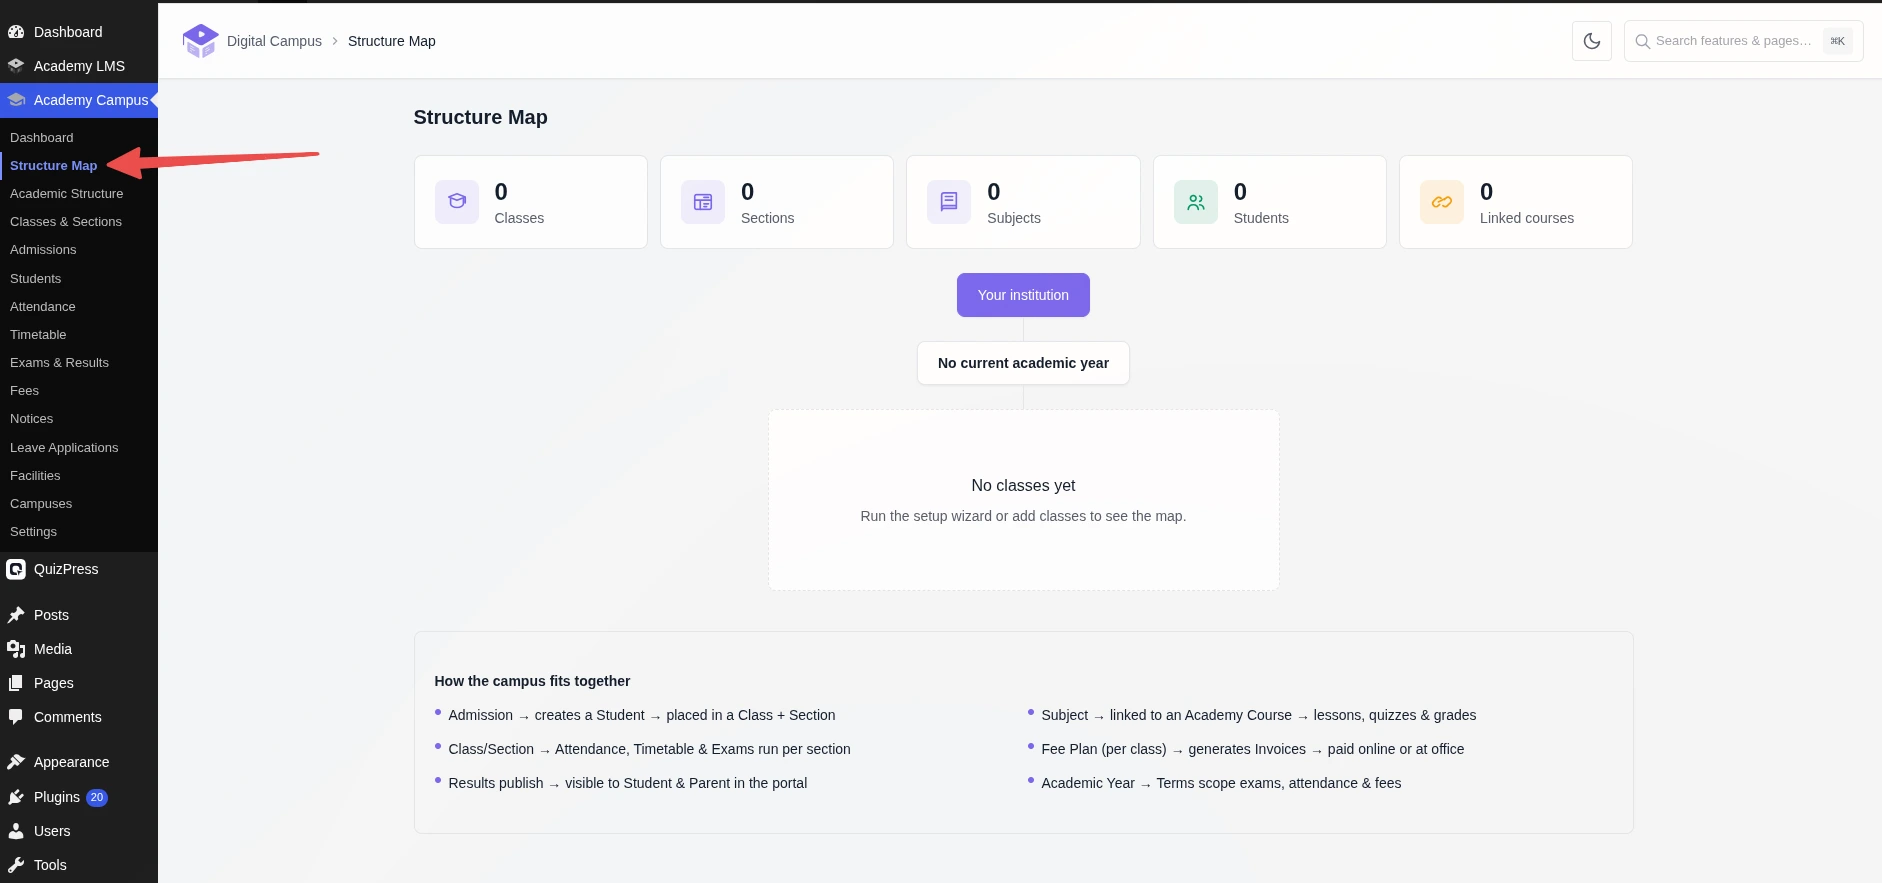
Go to Structure Map to see the whole set-up: institution, academic year and terms, then every class with its sections and subjects. Totals for classes, sections, subjects, students and linked courses are at the top.
7. Enroll a student
Go to Admissions and click + New Admission.
Pick a class, section, academic year and term, and fill in personal and guardian details.
Day-to-day menus
Turn on Pro modules
Go to Settings → Addons. Turn on the modules you need and click Save changes.
|
Group |
Modules |
|
Academic Structure |
Departments, Multi-campus (Pro), Campus pages |
|
Academics |
Attendance, Timetable, Exams & Results (all Pro) |
|
Operations |
Fees, Notices, Facilities, Online Admissions, Leave Applications, ID Cards (all Pro) |
|
Facilities (after turning on Facilities) |
Library, Transport, Hostel |
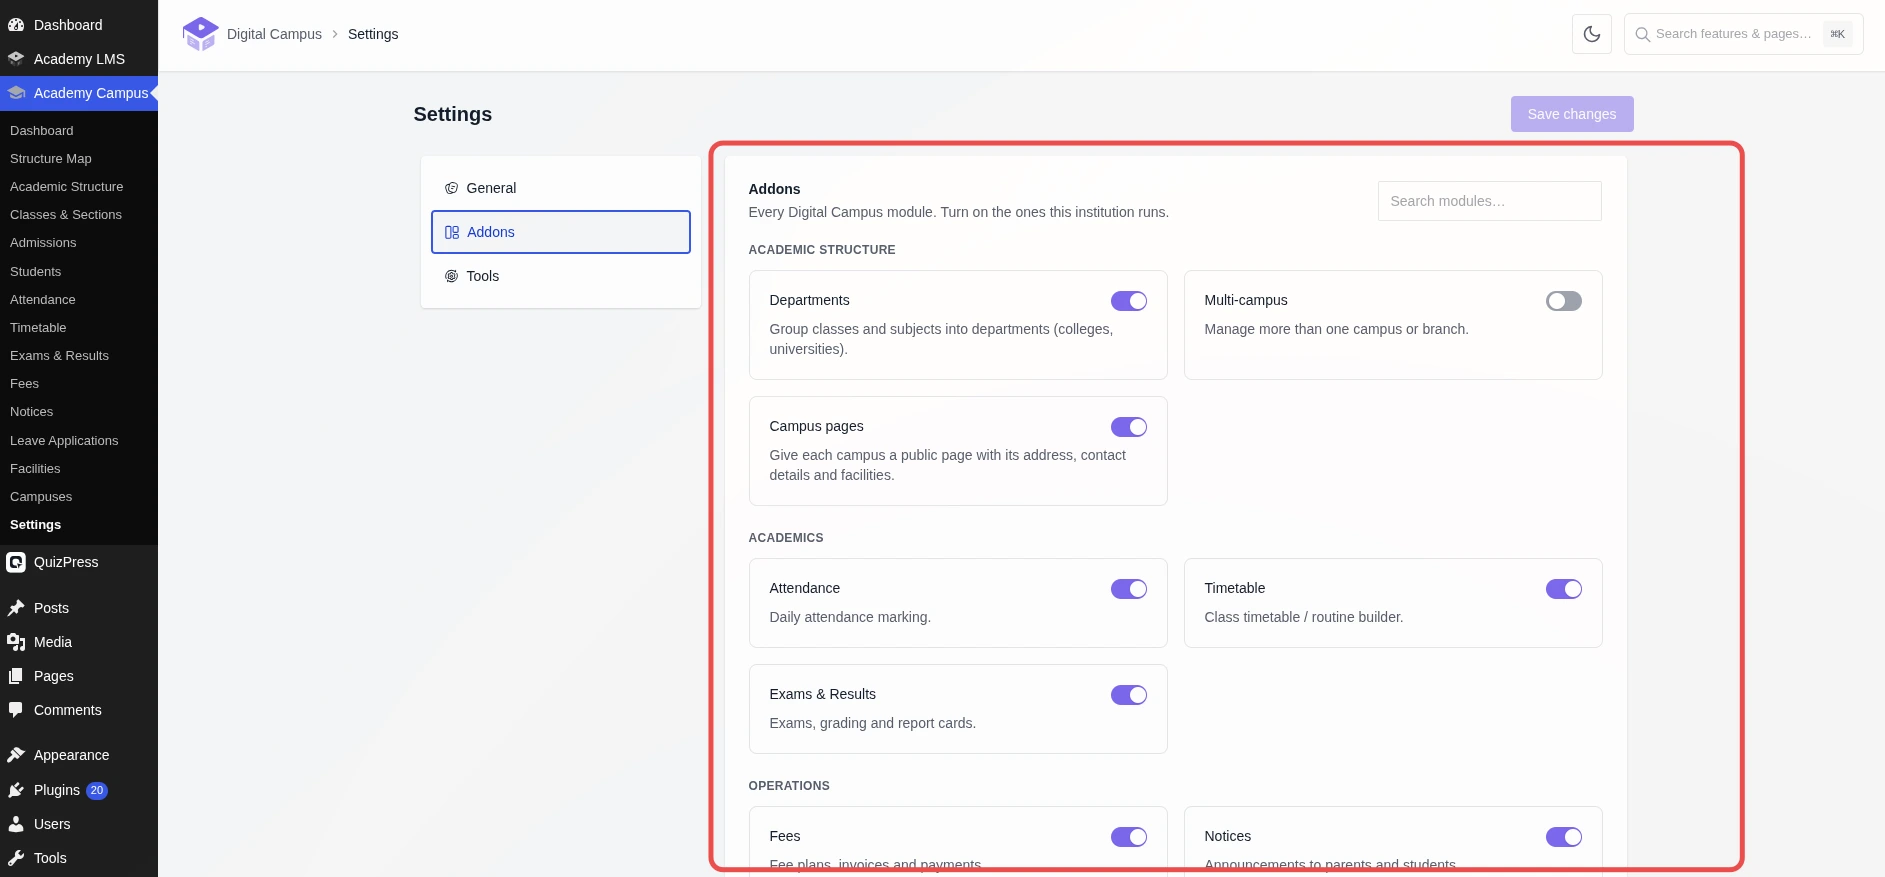
Each module gets its own menu item. For example, Fees has Fee Plans, Collection and Settings, and Exams & Results has Exams, Enter Results, Merit List, Report Card and Admit Cards.