









A course holds your lessons, quizzes and other learning material. This guide shows how to create one, add its content and choose who can take it.
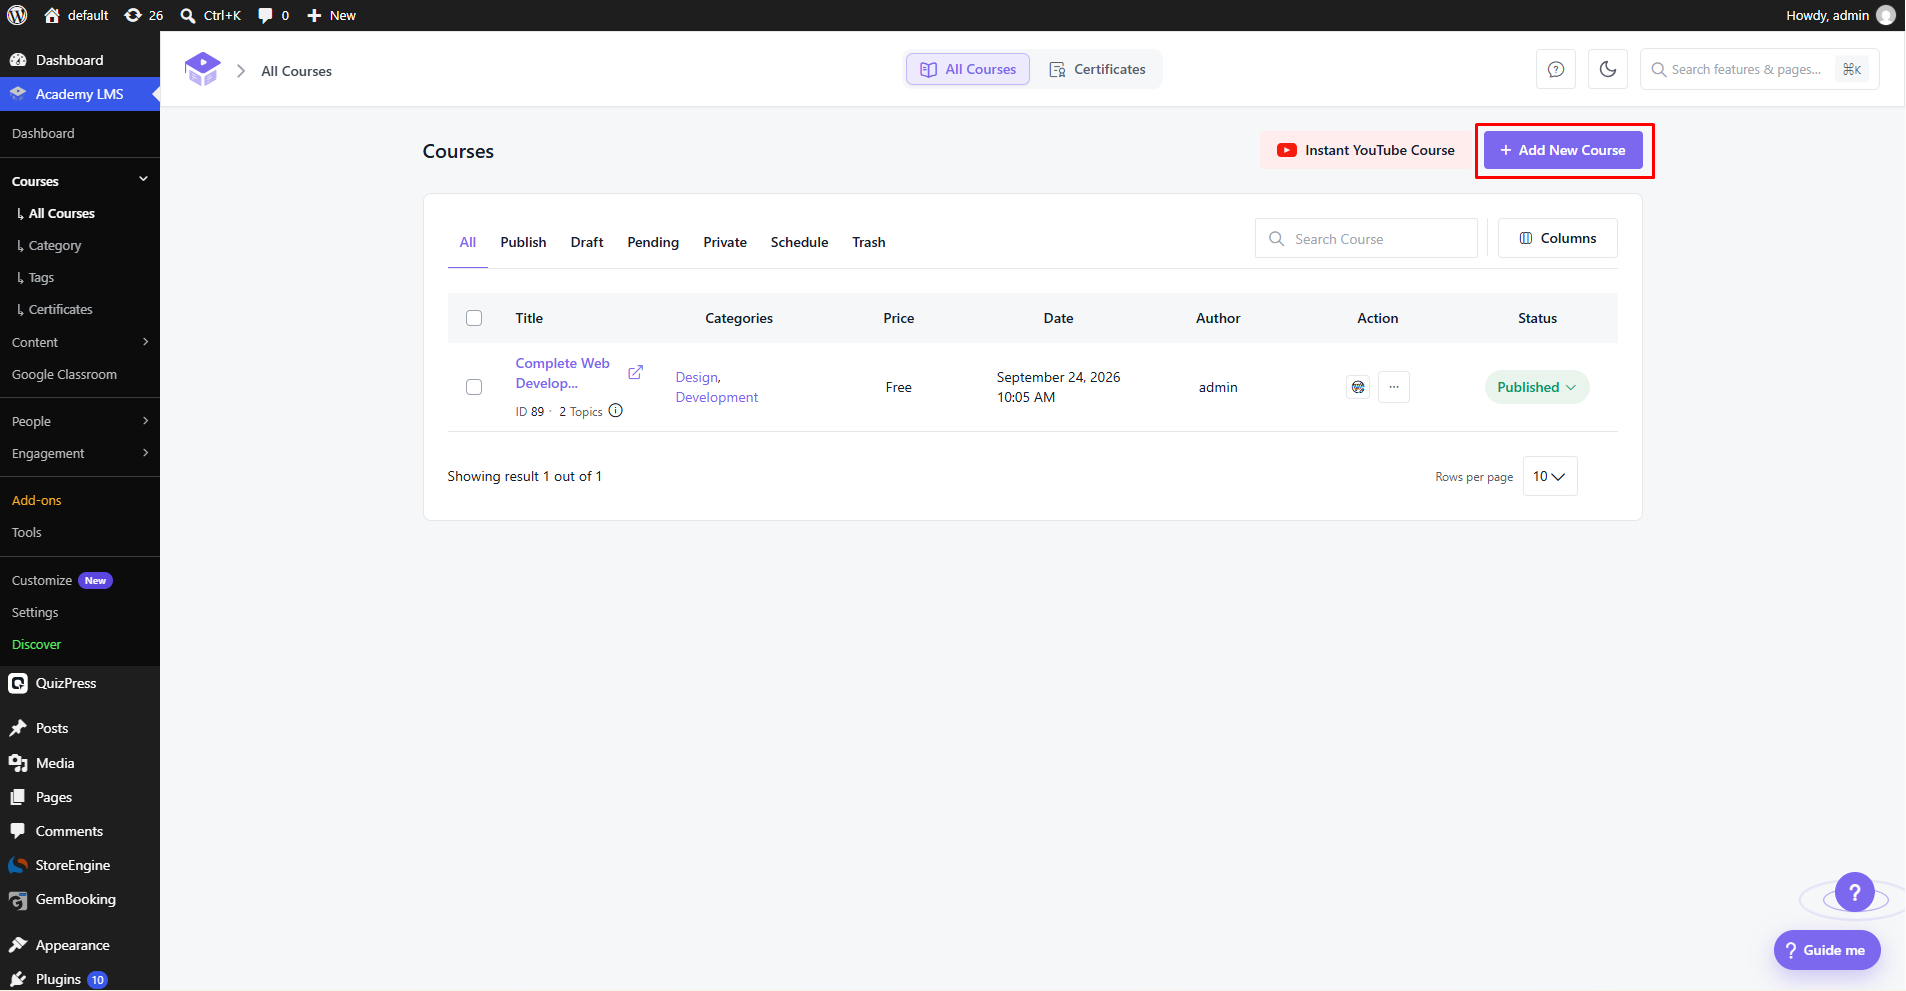
Go to Academy LMS → Courses → All Courses and click Add New Course.
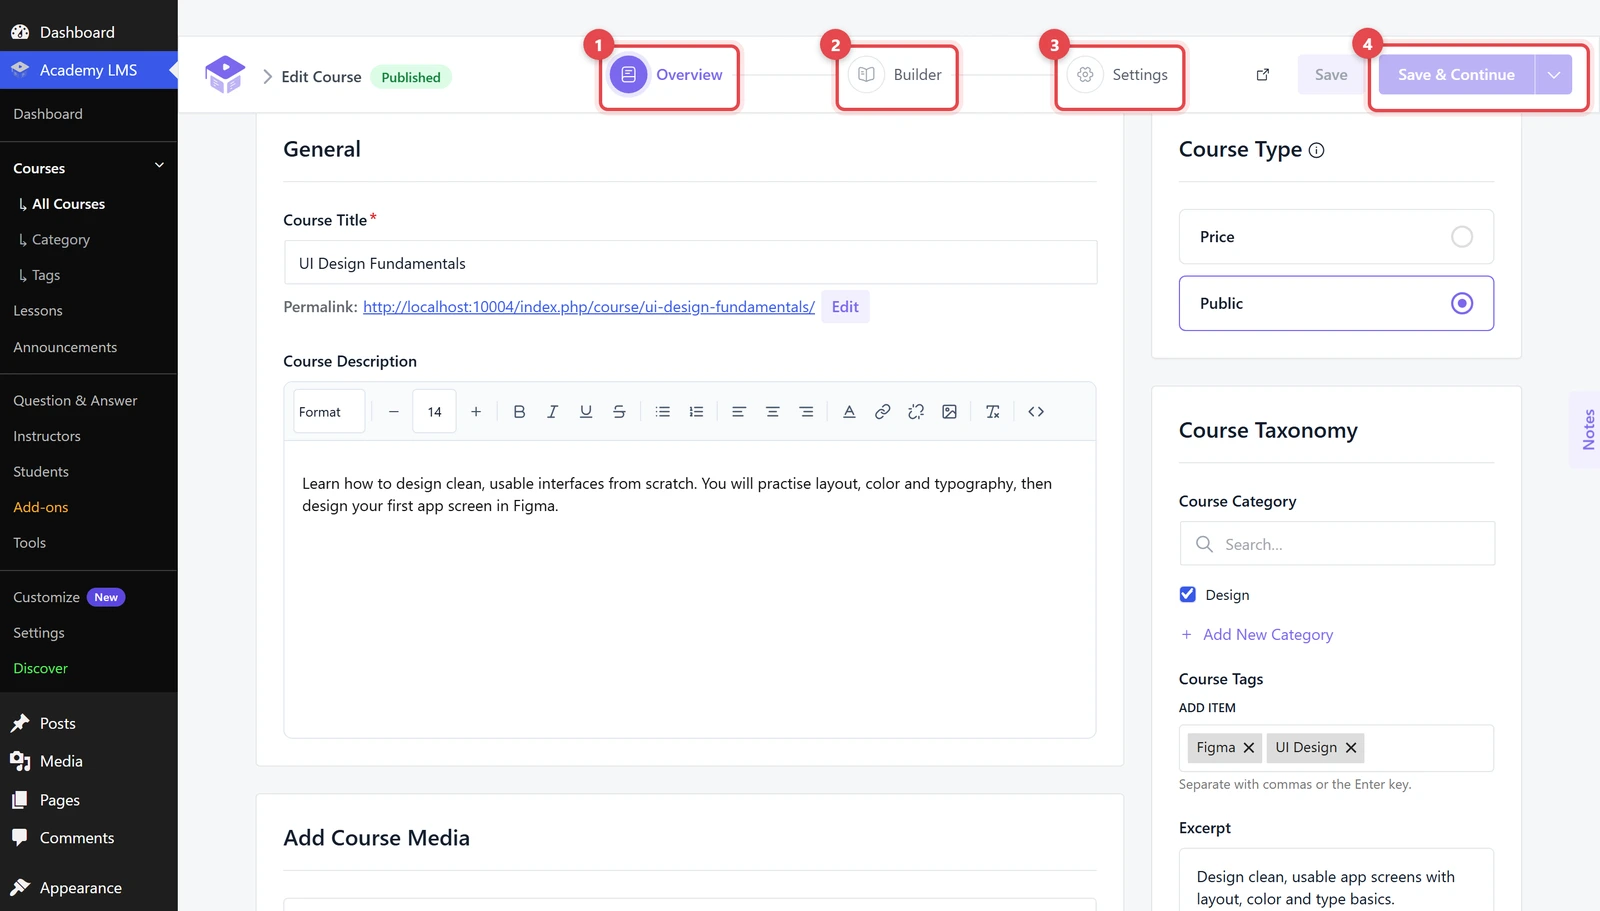
The course editor has three steps at the top: Overview (1), Builder (2) and Settings (3). Click Save & Continue (4) to save and move to the next step. As soon as you type a title, Academy LMS saves the course as a draft.
Overview
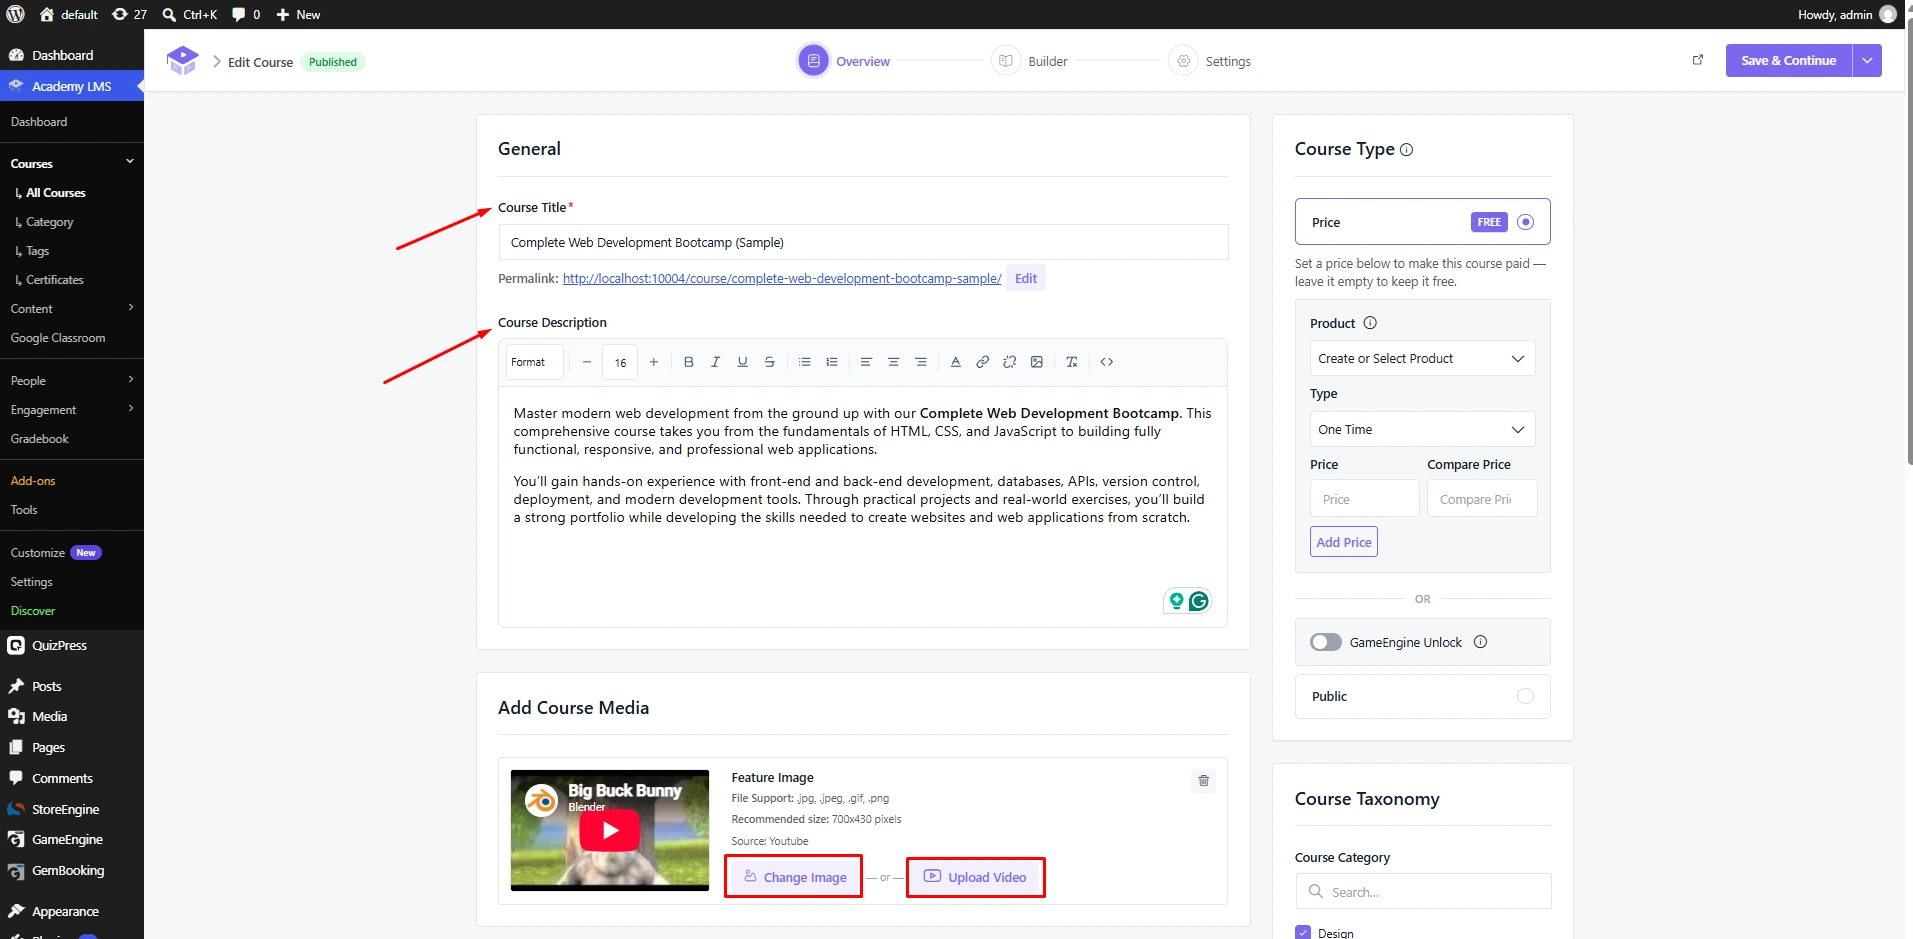
Enter a Course Title and a Course Description. Under Add Course Media, upload a Feature Image or add an Intro Video from YouTube, Vimeo, an external URL, embed code, an MP4 file or a shortcode.
Course type and price
The Course Type box on the right decides who can take the course.
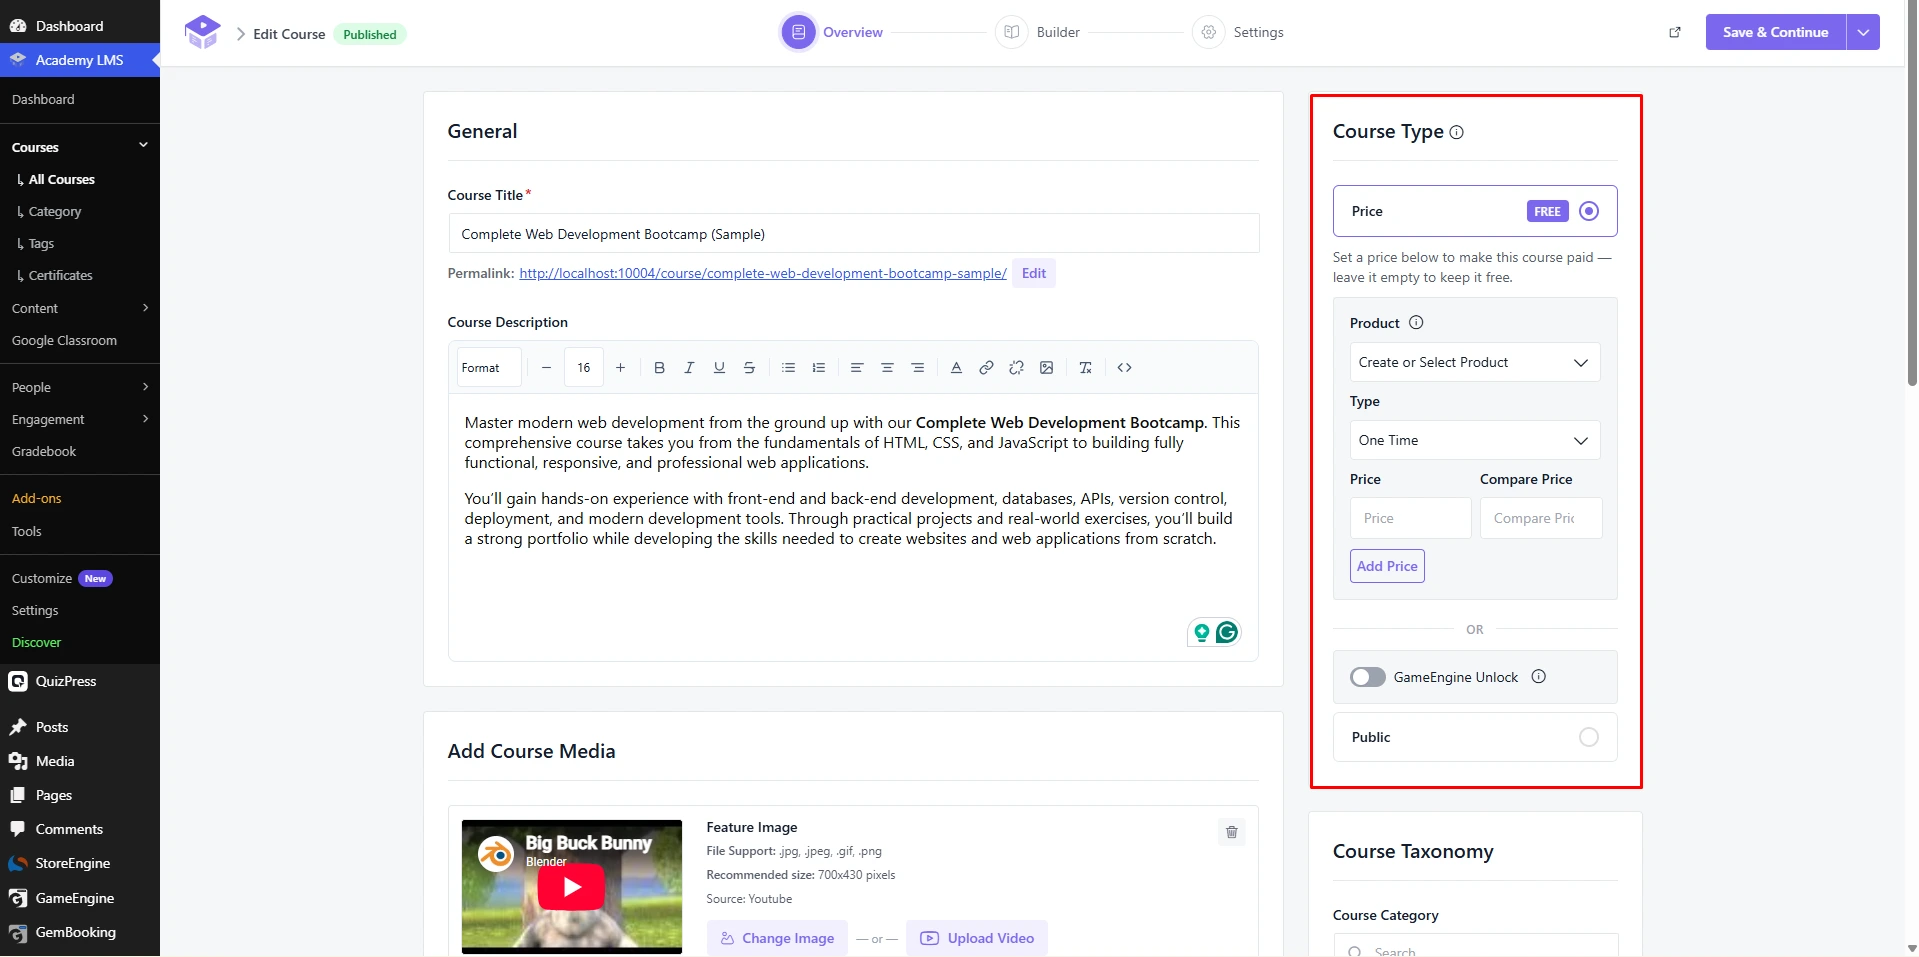
To take payments, first pick an eCommerce Engine in Academy LMS → Settings → Payments: StoreEngine, WooCommerce, Easy Digital Downloads or Paid Memberships Pro. See StoreEngine and WooCommerce.
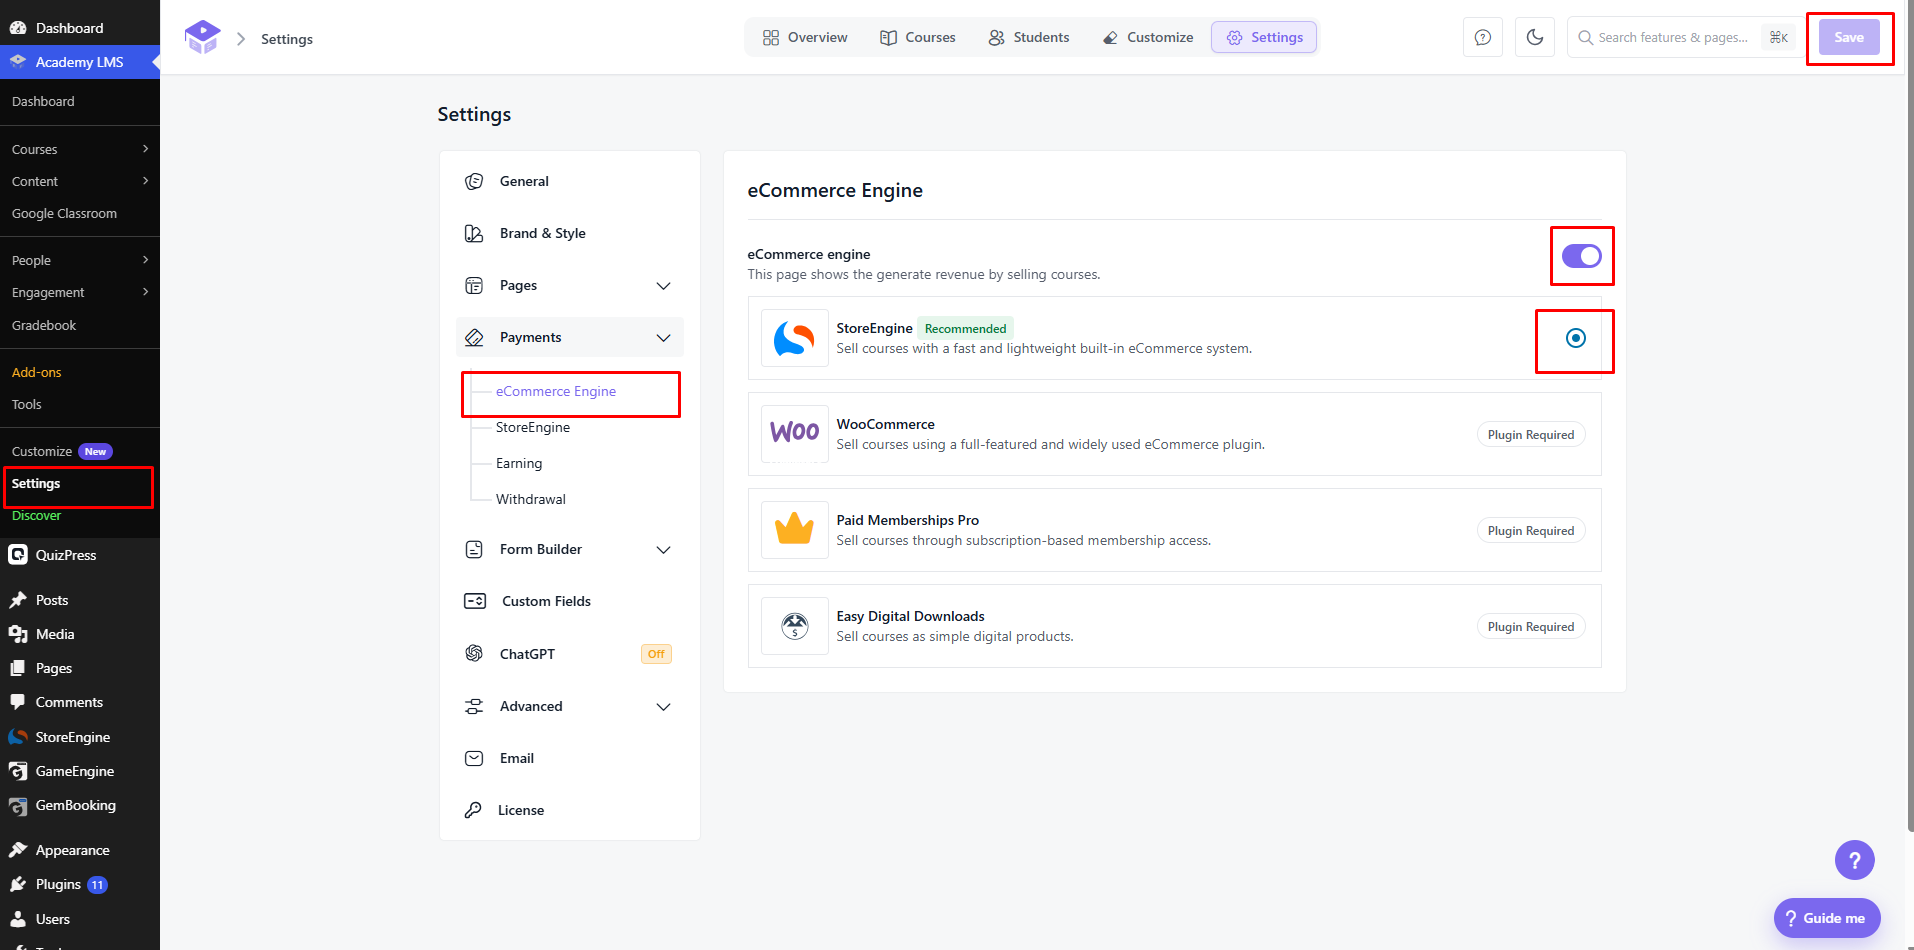
Public courses (Pro)
A public course is open to everyone. Visitors read the lessons without an account and without enrolling. Use it to share a free sample of your teaching.
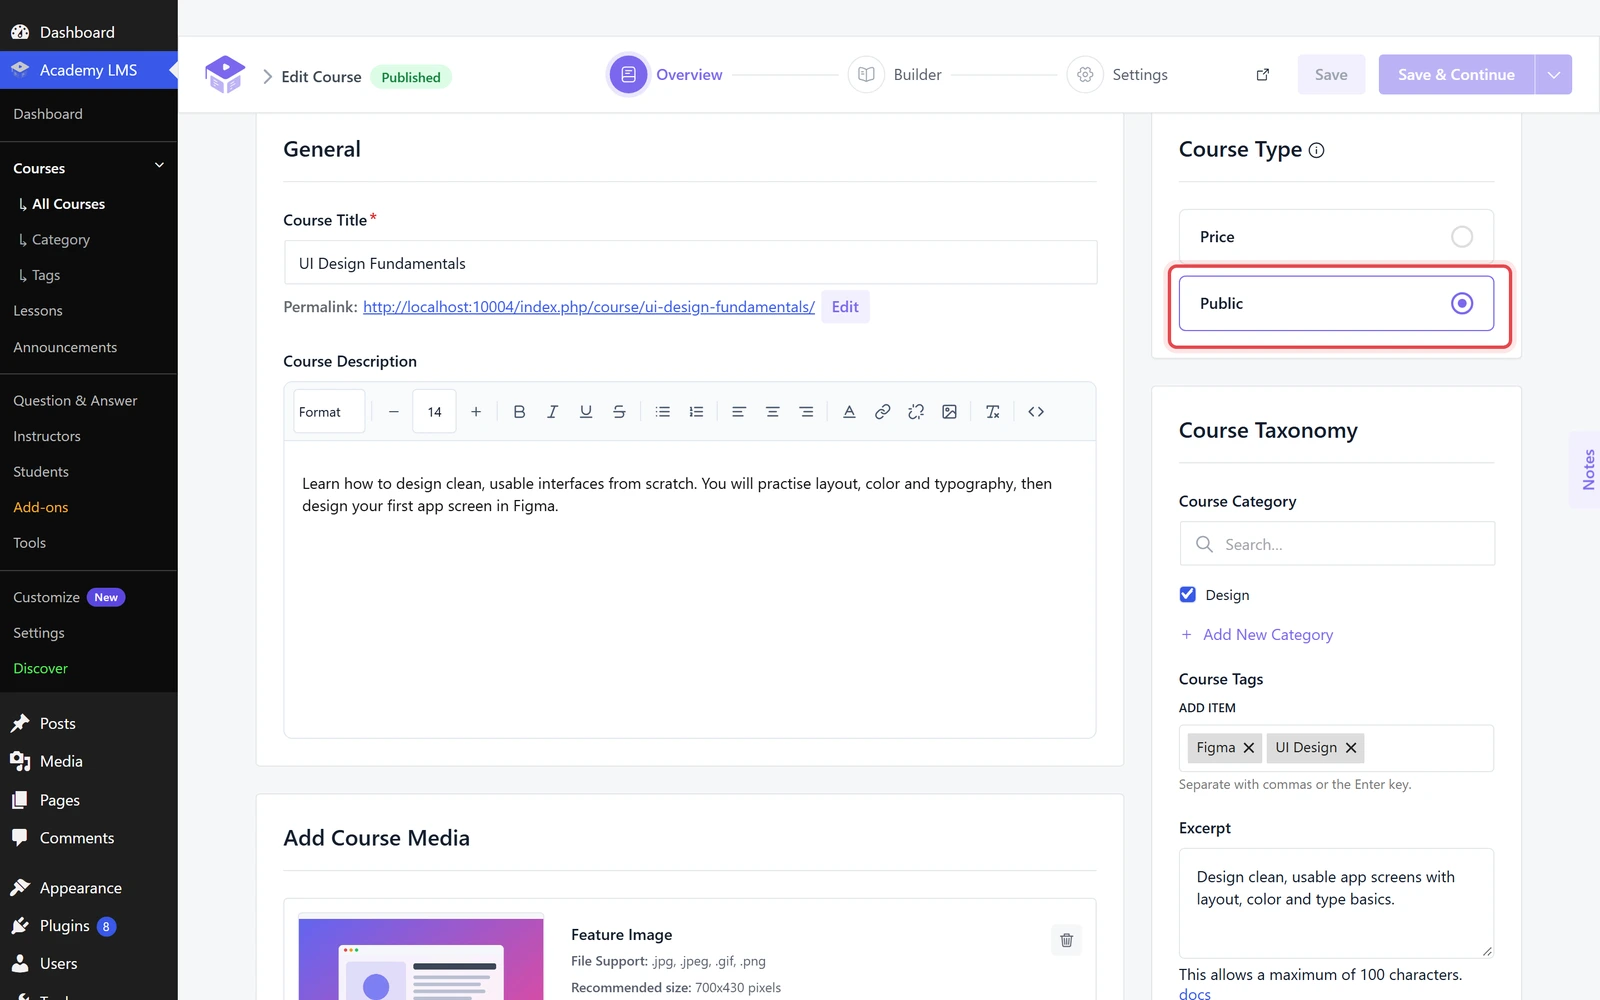
In Course Type, click Public, then save the course.
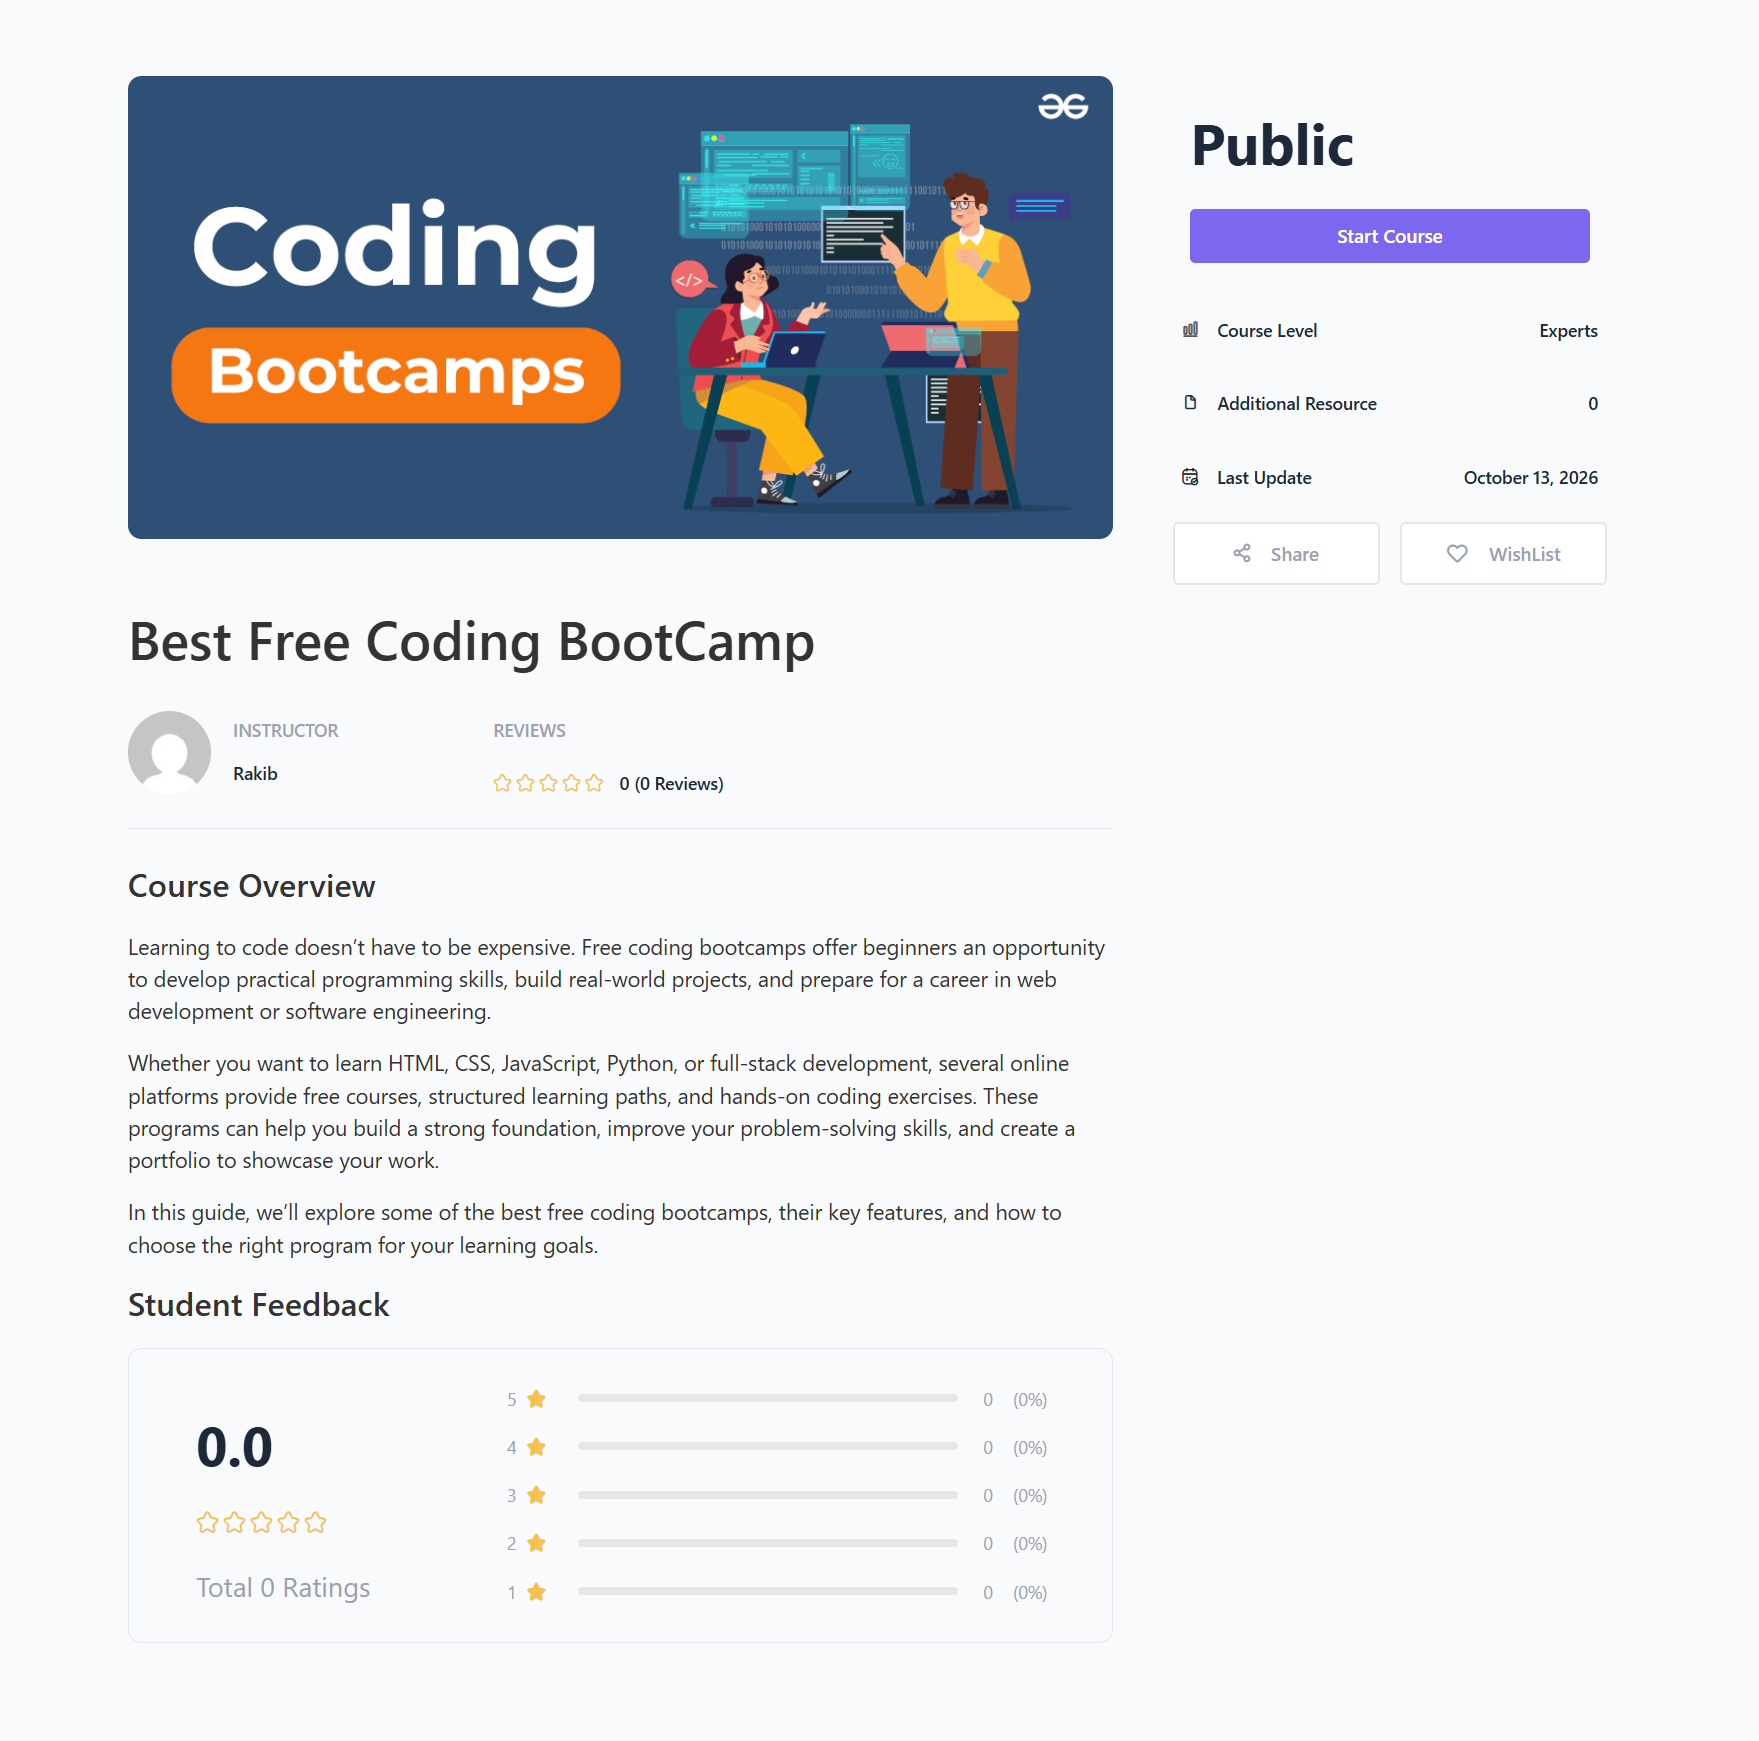
On the course page, Public shows where the price would be, and visitors click Start Course. A notice tells them they are not logged in. They can log in to save their progress.
Category, tags and excerpt
Pick a Course Category and add Course Tags. The Excerpt is a short summary of the course, up to 100 characters.
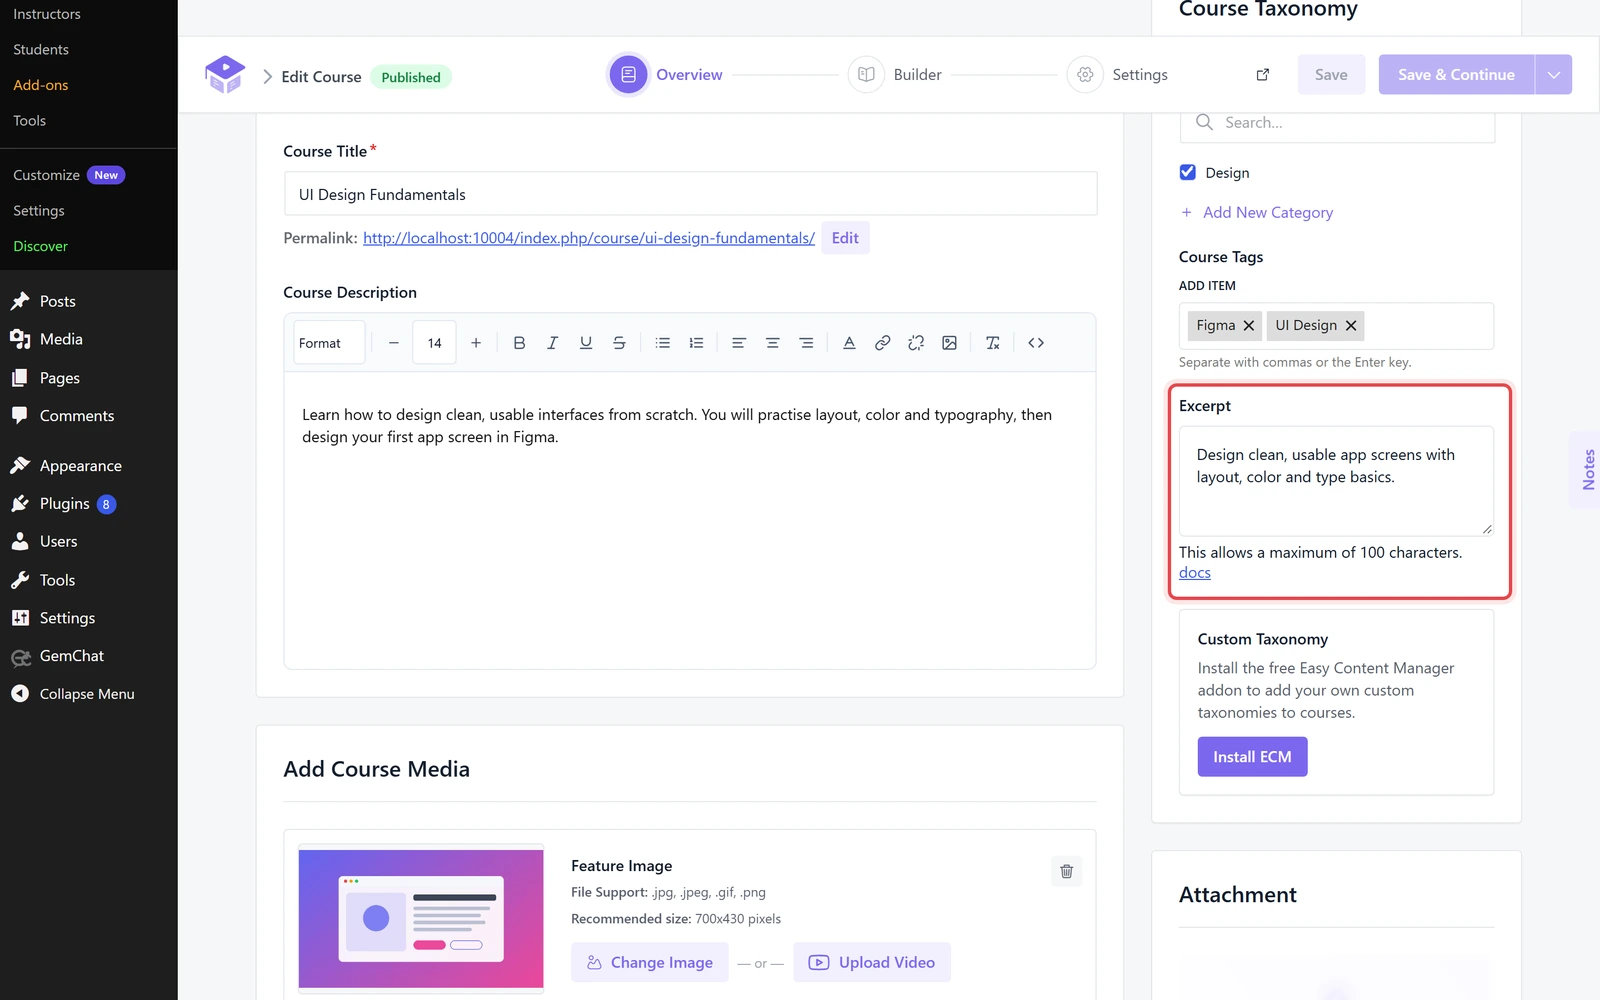
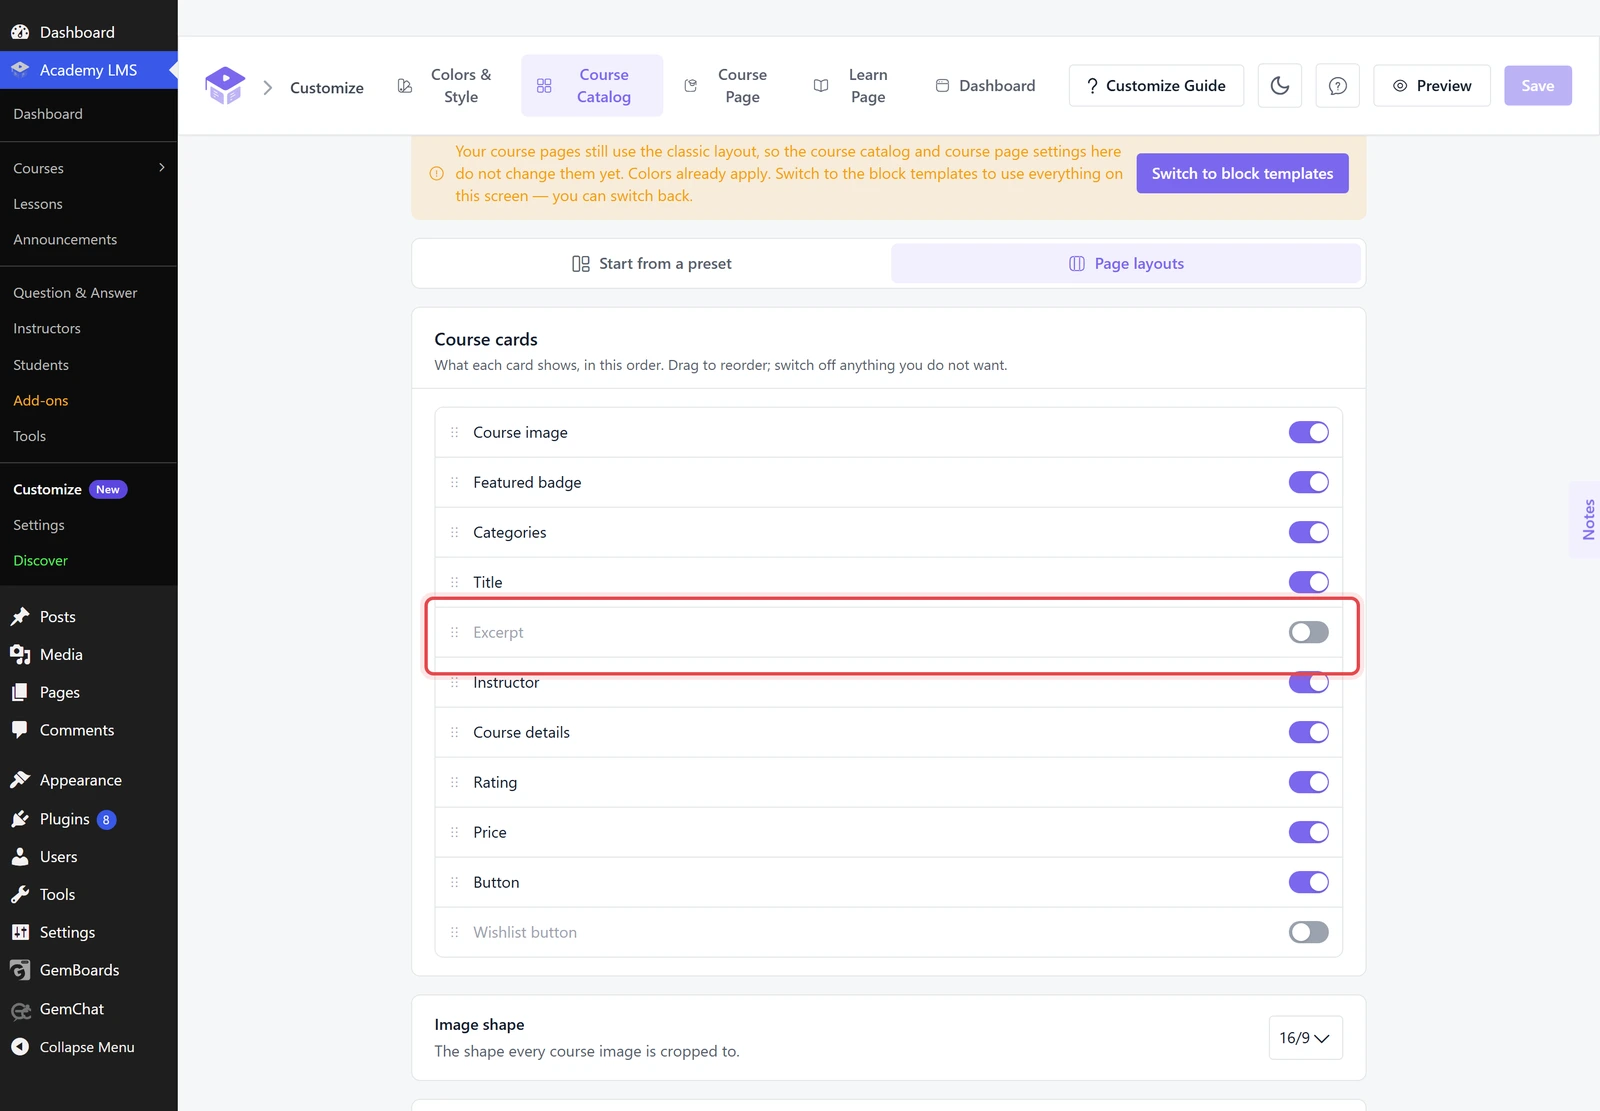
The excerpt shows on course cards only when you turn it on. Go to Academy LMS → Customize → Course Catalog, switch on Excerpt under Course cards and click Save.
Builder
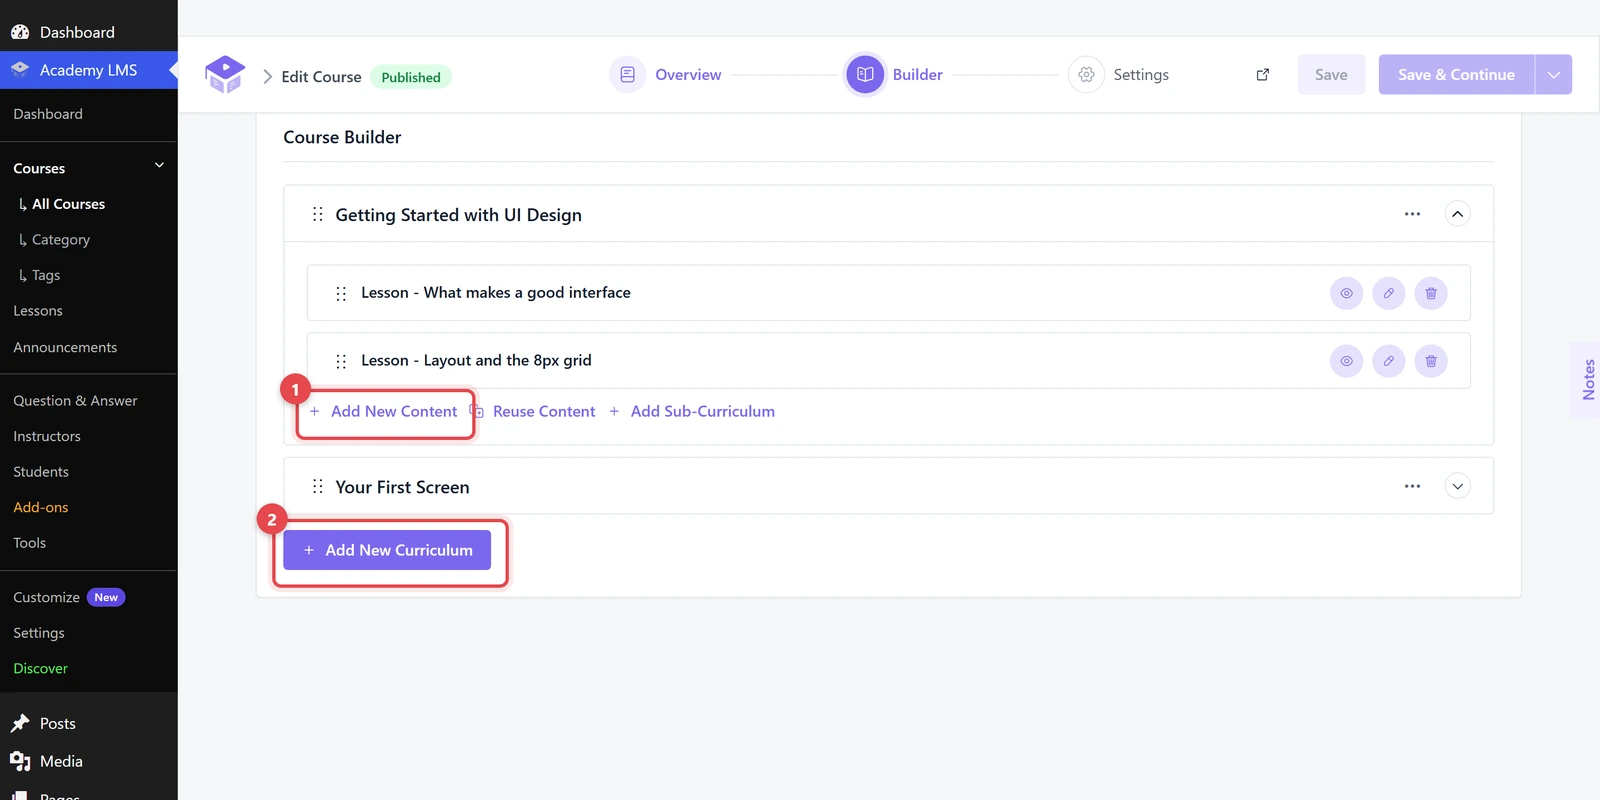
Click Add New Curriculum, give it a title and click Add Curriculum. A curriculum is a section of your course, like a chapter.
Open a curriculum and click Add New Content to add a lesson, quiz or other item.
For lesson details, see Lesson Creation.
Settings
The General tab controls how the course works:
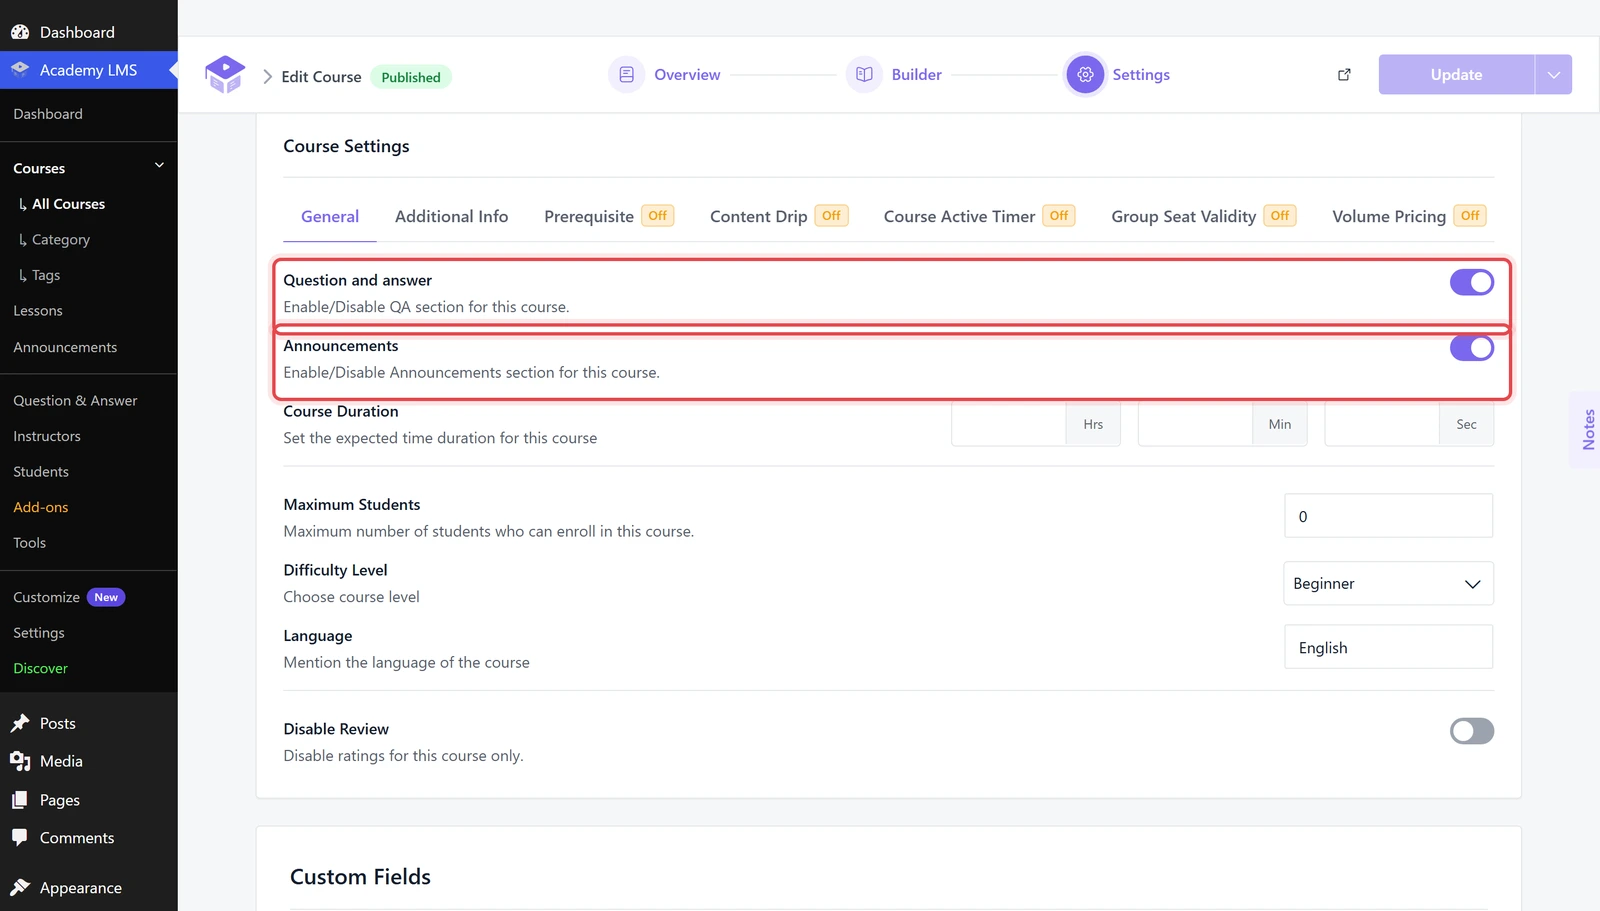
The Additional Info tab lists Benefits of the course, Targeted Audience, Requirements and Materials Included. Write one item per line.
Other tabs, such as Prerequisite, Content Drip and Course Active Timer, appear when those add-ons are on. See Course Prerequisites, Content Drip and Course Active Timer.
Publish the course
Open the arrow menu next to the save button, pick Publish and click Publish.
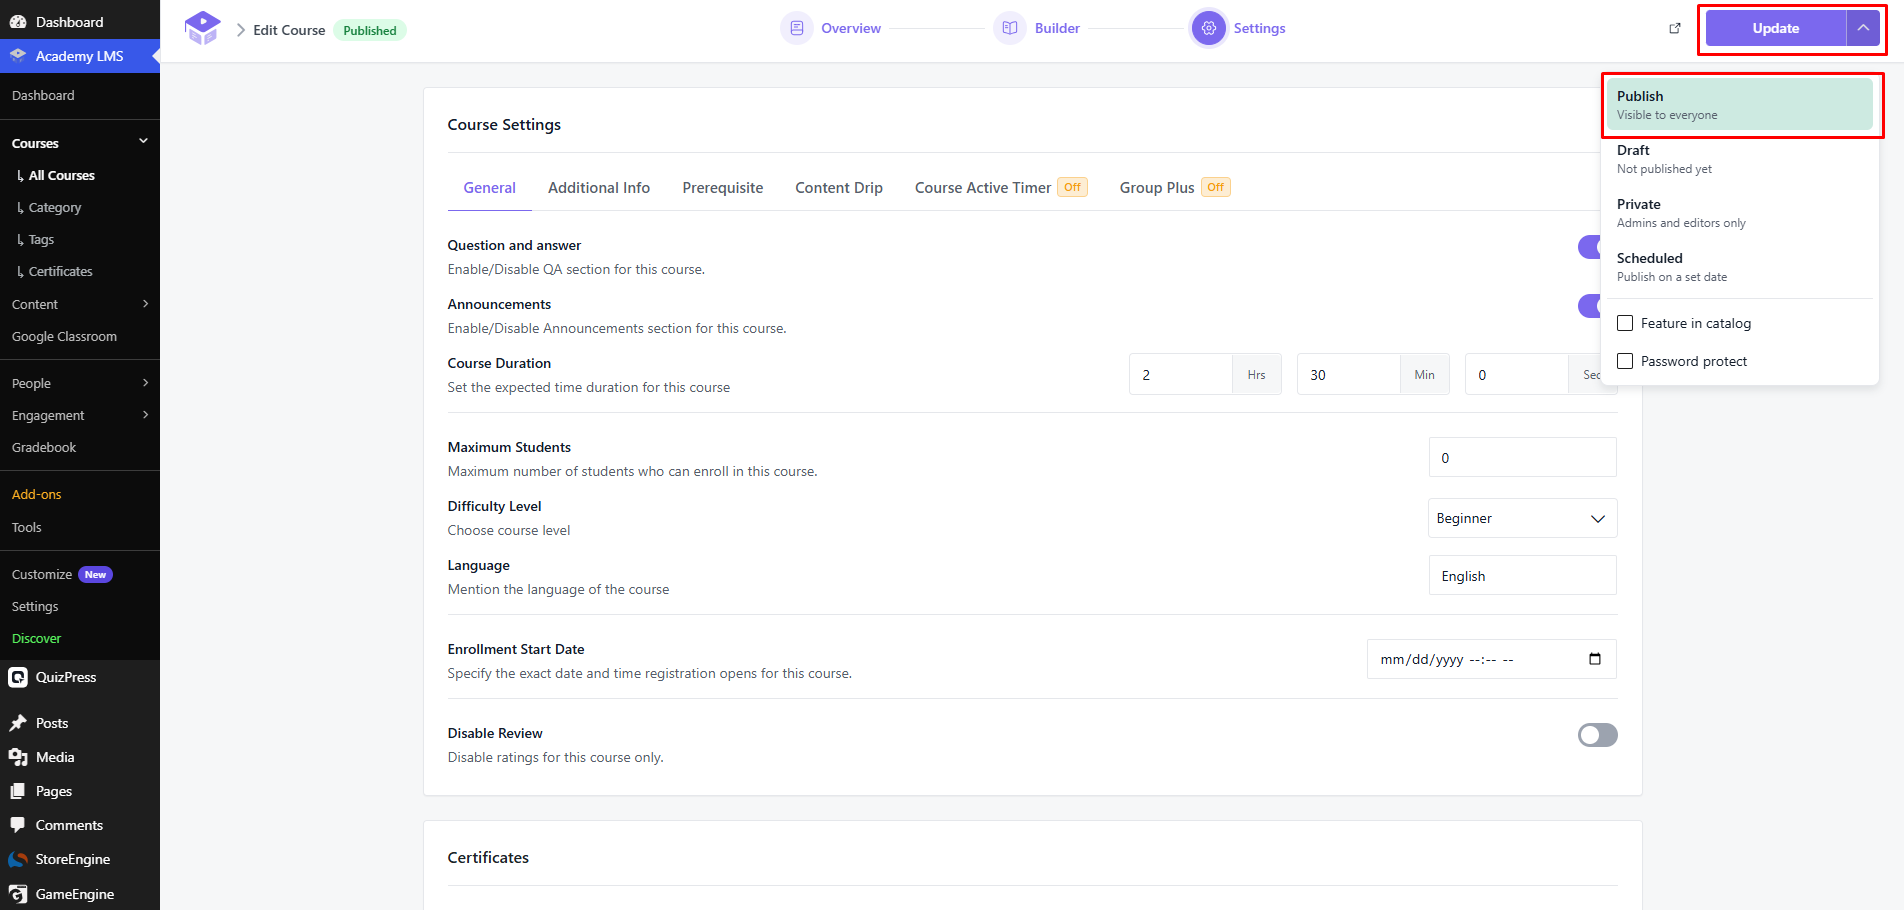
The same menu also lets you save a Draft, make the course Private, Schedule it or add a Password. See Private Courses.
Open the course page to check how it looks.