


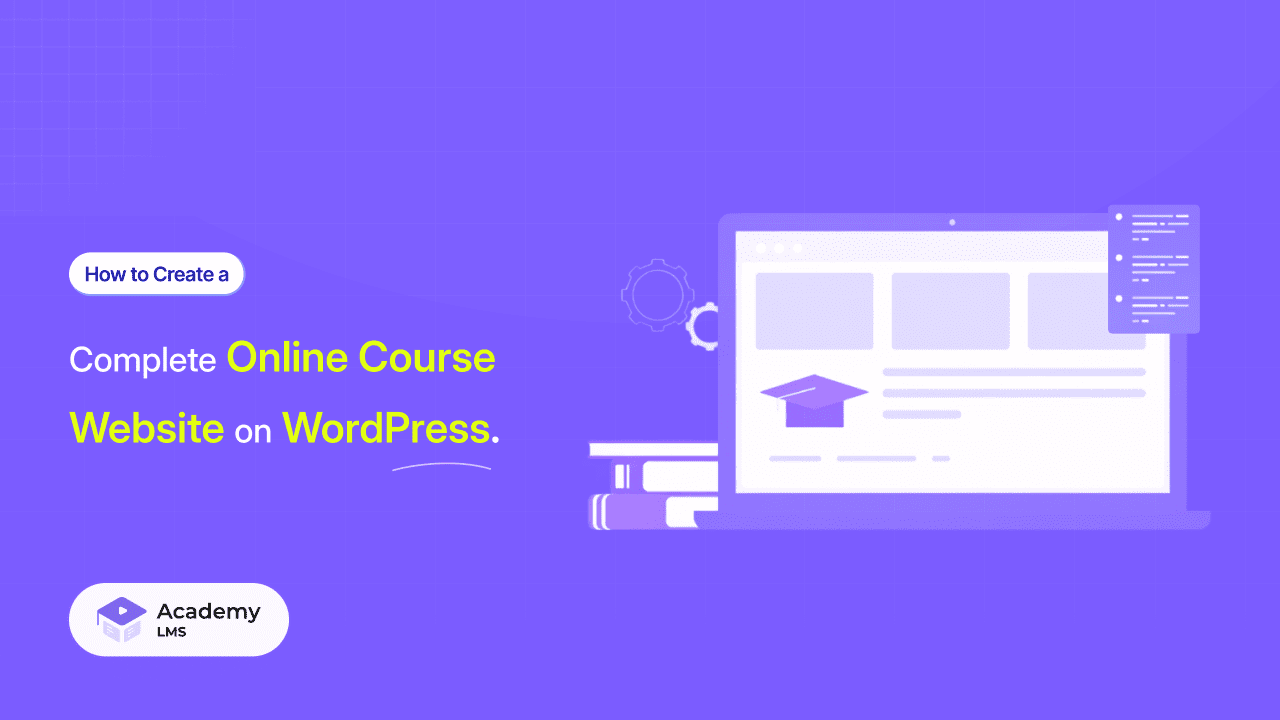

The eLearning industry continues to grow rapidly in 2026. Educators, coaches, and businesses are launching their own online course platforms to share knowledge and generate revenue. WordPress — powering over 40% of the web — is the ideal foundation for building a flexible, scalable, and cost-effective online course website.
But here’s something most guides get wrong: installing a theme alone does not make a functional online course website. A theme only controls how your site looks. To actually sell courses, enroll students, run quizzes, track progress, and accept payments, you need a Learning Management System (LMS) plugin on top of your theme.
This guide covers the complete picture — from buying hosting to launching your first paid course — using Academy LMS, one of the most powerful and lightweight LMS plugins available for WordPress.
What You Actually Need to Build an Online Course Website

Before diving in, understand the difference between these three layers:
|
Layer |
What It Does |
Example |
|
Hosting + Domain |
Where your website lives |
SiteGround, Kinsta |
|
WordPress + Theme |
Controls your site’s design and layout |
Astra, OceanWP |
|
LMS Plugin |
Powers course creation, enrollment, quizzes, payments, and student management |
Academy LMS |
All three layers are essential. A theme gives your site a professional look. The LMS plugin is what makes it actually function as an online course platform.
Why Academy LMS?
Among the many LMS plugins available, Academy LMS stands out for several reasons:
- Lightning-fast performance — Uses a custom database table for lessons instead of the default wp_posts table, keeping your site up to 60% faster even with hundreds of courses.
- Free core on WordPress.org — You can start building without spending anything.
- Modern React-based interface — The admin and student dashboards feel like a native app, not a clunky WordPress page.
- Built-in AI Studio — Generate course outlines, lesson content, quiz questions, and descriptions using simple text prompts (powered by OpenAI).
- Flexible monetization — Native integrations with WooCommerce, SureCart, Easy Digital Downloads, and membership plugins.
- Multi-instructor marketplace — Run a platform like Udemy, entirely on your own domain.
- Affordable pricing —Pro plans start at $119/year, far cheaper than SaaS platforms like Teachable or Thinkific.
Step 1: Get Hosting and a Domain Name
Your website needs two things before anything else: a domain name (your web address) and web hosting (the server that stores your site).
Recommended hosting providers for WordPress LMS sites:
- Kinsta — Premium managed WordPress hosting with built-in CDN and excellent speed
- SiteGround — Affordable with strong performance and beginner-friendly setup
- Cloudways — Cloud-based, highly scalable, great for growing platforms
- Rapyd Cloud — Built specifically for WordPress, with proactive security and an integrated CDN
Tips for choosing hosting:
- For a new site, a shared or starter managed WordPress plan is fine.
- As your student base grows, upgrade to a VPS or cloud plan.
- Always make sure your host offers a free SSL certificate (standard with most providers via Let’s Encrypt).
Once you have hosting, most providers offer one-click WordPress installation. Use it — there is no need to install WordPress manually.
After installation, log in to your WordPress dashboard at yourdomain.com/wp-admin.
Step 2: Choose and Install a WordPress Theme
Now that WordPress is installed, it is time to set up your site’s design. Go to Appearance → Themes → Add New and search for a theme.

Recommended themes for online course websites:
- Astra — Extremely lightweight and fast. Works seamlessly with any page builder. The best all-around choice.
- OceanWP — Feature-rich and flexible, with many free extensions.
- GeneratePress — Minimal and performance-focused. Great for SEO.
Important: Do not confuse theme with functionality. Installing an education-style theme makes your site look like a course platform. It does not add course creation, student enrollment, quizzes, payment processing, or progress tracking. Those features come from the LMS plugin in the next step.
If you want your design to match Academy LMS perfectly out of the box, Academy LMS offers a one-click demo importer extension with pre-built eLearning templates that are designed specifically for its interface.
Step 3: Install Academy LMS
With your theme in place, install the LMS plugin that powers everything.
- Go to Plugins → Add New Plugin in your WordPress dashboard.
- Search for “Academy LMS”.
- Click Install Now, then Activate.

Once activated, a new Academy menu item appears in your sidebar. The React-based SPA dashboard loads immediately, giving you access to all course tools, student management, settings, and analytics in one fast interface.
Step 4: Install a Page Builder aBlocks
Before designing any pages, you need a page builder plugin. A page builder lets you create beautiful, professional-looking pages using a simple drag-and-drop interface — no coding required.
Academy LMS works best with page builders:
aBlocks — A lightweight Gutenberg-based page builder built specifically to work with Academy LMS. Best choice for most users.
How to install aBlocks:
- Go to Plugins → Add New Plugin in your WordPress dashboard.
- Search for “aBlocks”.
- Click Install Now, then Activate.

Once activated, aBlocks adds powerful drag-and-drop blocks directly inside the WordPress
Gutenberg editor. You can use it to design your homepage, course listing page, instructor profiles, and more — all without writing a single line of code.
Step 5: Configure Your Site Settings
Go to Academy → Settings. Here is a quick overview of each section:

- General — Enable Academy LMS Login, choose your editor type (Quill recommended), and turn on Optimize Lesson Data Performance for better speed.
- Brand & Style — Upload your logo and set your brand colors.
- Pages — Assign your Course Listing page, Student Dashboard, and other key LMS pages.
- Payments — Set your currency and connect your payment method. Full setup is covered in Step 9.
- Form Builder — Customize the student registration and login forms.
- License — Enter your Academy LMS Pro license key to unlock premium features.
- Power Ups — Enable add-ons like Zoom integration, certificates, and gamification.
- Advanced — Leave these at their defaults unless you have a specific technical reason to change them.
Step 6: Design Your Key Pages
Your site needs several well-designed pages to convert visitors into students. UseaBlocks — which you installed in the previous step — to build these pages:

Once imported, your homepage will look something like this — a clean navigation bar with Home, Courses, About Us, and Contact links, a bold hero section with your headline and call to action, and stat counters showing your total courses, instructors, and students. Everything is editable — just click on any section in aBlocks to change the text, colors, or images to match your brand.
Courses Page Preview

Academy LMS automatically generates the Courses page. It displays all your published courses in a clean grid layout — each course card shows the course thumbnail, title, instructor name, price, and an enroll button. Students can filter courses by category, difficulty level, or price directly on this page, without any extra setup.
Essential pages for an online course website:
- Homepage — Introduce your platform, highlight top courses, and include a clear call to action.
- Course Listing Page — Automatically generated by Academy LMS. Customize its layout using aBlocks.
- Individual Course Pages — Also auto-generated. Each course gets its own page with curriculum, instructor info, reviews, and an enrollment button.
- Student Dashboard — Where enrolled students track their progress, resume lessons, and view certificates.
- About / Instructor Page — Build trust by introducing yourself or your team.
- Contact Page — Let potential students reach you with questions.
Design tips:
- Keep your homepage focused on one primary action: enrolling in a course or browsing the catalog.
- Use aBlocks to add course carousels, featured course grids, instructor profiles, and student counters without writing any code.
- Keep the design clean and fast. Avoid heavy sliders or large animations that slow down page load.
Step 7: Create Your First Course
Go to Academy → Courses → Add New Course.

Building your course:
- Course Details — Add a title, description, featured image, category, difficulty level, and estimated duration.

- Curriculum Tab — Add Topics (sections), then inside each topic add Lessons, Quizzes, Assignments, or Live Meeting sessions. Drag and drop to reorder anything.

- Lesson Content — Supports video (YouTube, Vimeo, self-hosted, BunnyNet), written text, PDFs, presentations, and SCORM packages (Pro).

- Quizzes — Use the quiz builder with multiple question types: Multiple Choice, True/False, Fill-in-the-blank, and image-based questions. Set time limits, attempt limits, and passing scores.

- Course Settings — Set prerequisites, maximum student count, and content drip schedules (Pro feature that releases lessons on a set schedule).
Step 8: Use the AI Studio to Build Courses Faster
Academy LMS includes a built-in AI Studio powered by OpenAI, which is one of its most useful features. With a simple text prompt, the AI can generate:
- A full course outline with topics and lesson titles
- Compelling course titles and descriptions
- Full lesson content drafts
- Quiz questions with multiple choice options
How to enable it: Install the ChatGPT addon from the Academy LMS extensions area, then add your OpenAI API key under Settings. Once active, an AI button appears inside the course builder wherever content can be generated.
This can significantly cut down course creation time, especially when you’re building a large catalog of courses.
Step 9: Set Up Payments and Monetize Your Courses
Academy LMS supports multiple monetization models via StoreEngine. Choose what fits your business best:
|
Model |
How It Works |
|
One-Time Purchase |
Students pay once for lifetime access |
|
Subscription |
Monthly or annual membership for all courses |
|
Freemium |
First few lessons free, advanced content paid |
|
Marketplace |
Instructors sell their own courses, and you earn a commission. To set this up, install the Academy LMS Multi-Instructor Addon and set your commission percentage under Academy → Settings → Instructor |
|
Live Classes |
Sell 1-on-1 session bundles ($50–$150/session) |
|
Corporate (B2B) |
Bulk seat licenses for company employee training |
|
Certification |
Premium certificate programs ($199–$499) |
To get started: Install StoreEngine → Create a course product → Set a price → Connect a payment gateway.
Recommended payment gateways:
- Stripe — Global card payments
- PayPal — Trusted worldwide
- Razorpay — Best for Bangladesh and South Asia
- Wise / Payoneer — Instructor payouts internationally
Step 10: Set Up Multi-Instructor Support (Optional)
If you plan to host courses from multiple instructors, Academy LMS has full multi-instructor support built in.
- Instructors can register on the frontend and submit courses for admin review.
- Each instructor gets their own separate dashboard.
- Revenue sharing percentages are configurable in Academy → Settings → Instructor.
- This makes it possible to run a marketplace-style platform similar to Udemy — on your own domain, with your own branding, and no platform commission taken by a third party.
Step 11: Add Community and Engagement Features
Courses with active communities have significantly higher completion rates and better student retention. Consider adding:
- ZenCommunity — Builds learner communities, Q&A discussion spaces, and live chat directly around your courses.
- Zoom Integration (Pro) — Schedule and host live virtual classes or office hours within your course structure.
- Academy Certificates Add-on — Automatically award branded completion certificates when students finish a course.
- Gamification — Add points, badges, and leaderboards to keep students motivated.
Student reviews, visible completion counts, and discussion forums all add social proof that encourages new students to enroll.
Step 12: Track Performance with Analytics
Academy LMS Pro provides a detailed analytics dashboard covering:
- Individual student progress and completion rates
- Quiz performance and average scores
- Revenue and sales data by course
- Instructor-level analytics (for multi-instructor platforms)
Use this data to identify which courses students are completing and which ones they are dropping out of. Improve the weak points to increase completion rates and satisfaction.
Step 13: Launch, Promote, and Grow
With your site live and courses published, shift focus to marketing:
- SEO — Install Rank Math or Yoast SEO. Optimize each course page with a clear title, keyword-rich description, and structured data.
- Email Marketing — Connect Mailchimp, ActiveCampaign, or ConvertKit to build a mailing list and nurture leads into enrollments.
- Affiliate Program — Use AffiliateWP with WooCommerce to let affiliates promote your courses for a commission.
- Social Proof — Display student reviews, enrollment counts, and completion certificates prominently on course pages.
- Content Marketing — Publish free blog posts or short YouTube videos related to your course topics to drive organic traffic.
Final Thoughts
Building a professional online course website on WordPress comes down to getting the right stack in place: hosting, a theme, and a powerful LMS plugin like Academy LMS.
Your theme handles the look. Academy LMS handles everything else — course creation, student enrollment, quizzes, payments, certificates, and analytics. Together, they give you complete ownership of your content, brand, and revenue, without the high monthly fees of platforms like Teachable or Thinkific.
The free core on WordPress.org is enough to get started. The Pro version (starting at $119/year) unlocks live classes, content drip, SCORM support, and advanced analytics — making it a scalable solution for any serious eLearning business.
Frequently Asked Questions
Do I need coding skills to build an online course website on WordPress?
No. WordPress is beginner-friendly, and Academy LMS provides a drag-and-drop course builder. You can build a complete eLearning platform without writing a single line of code.
Will just installing an education theme create a working course website?
No. A theme controls visual design only. It does not add course creation, student enrollment, payment processing, quizzes, or progress tracking. You need an LMS plugin like Academy LMS for all of that functionality.
Can I offer free courses and add paid courses later?
Yes. You can start with free courses to build an audience, then introduce paid courses or memberships at any time without rebuilding your site.
Is WordPress secure enough for handling student payments?
Yes, when paired with a reputable host, an SSL certificate, and a trusted payment gateway like Stripe or PayPal through WooCommerce.